sweet!!!!! that tire looks crazy lined up by the A6 haha
out of curiosity, what's the weight on that rotor? swept area thickness?
Re: Aarons RWD #stancewheels 2-6-14
Posted: Thu Feb 13, 2014 12:37 pm
by lorge1989
Wow, go big or go home I guess.
Re: Aarons RWD #stancewheels 2-6-14
Posted: Thu Feb 13, 2014 4:58 pm
by Toph
Just making sure we're on the same page here haha
speeding-g60 wrote:of course not, it isnt a PP issue now is it
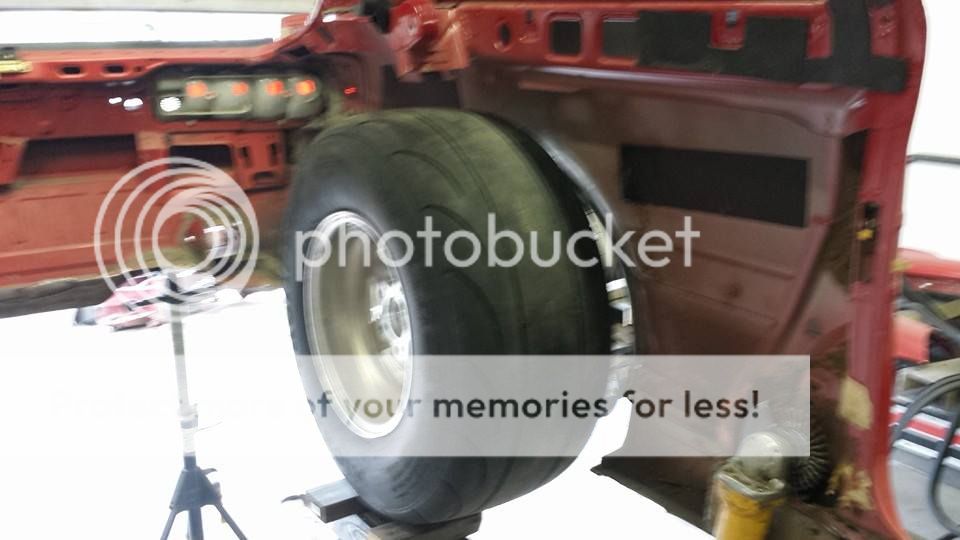
That wheel and tire setup is not playing around...damn. What sort of tire pressure do you run? Regardless, you're looking at quite the contact patch there. I'm looking forward to seeing those under that coupe.
Re: Aarons RWD #stancewheels 2-6-14
Posted: Thu Feb 13, 2014 9:20 pm
by speeding-g60
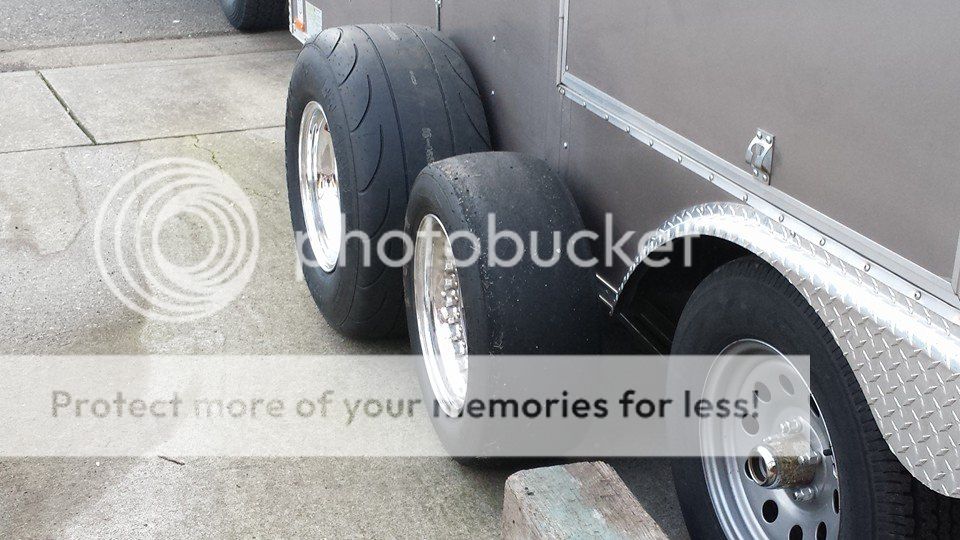
remember, too, this is the training tire. drag radial for dyno and learning. the real tire if i move on to a slick will have a 14" rim, and be maybe 32" x 14" radial slick or possibly even a REAL MANS TIRE. 33" X 10.5W on a 14" wheel.
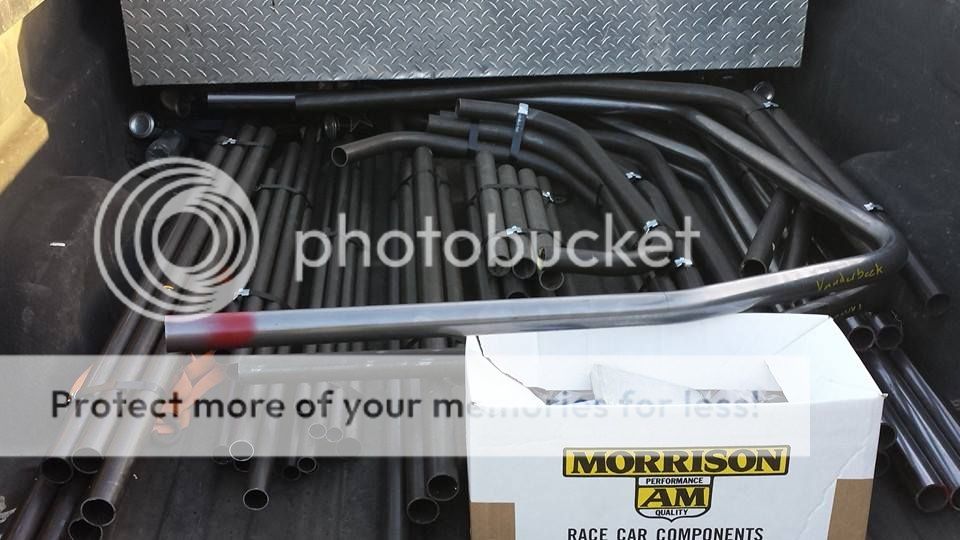
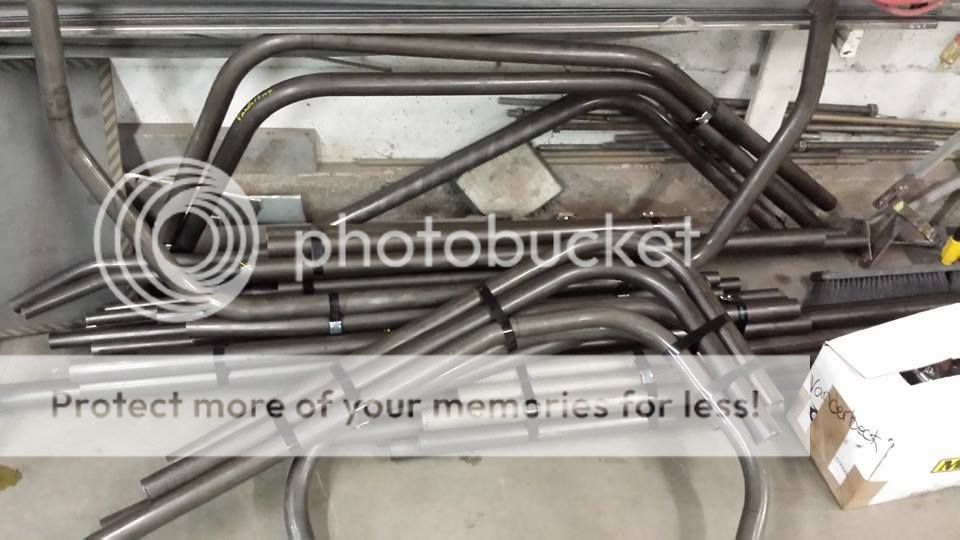
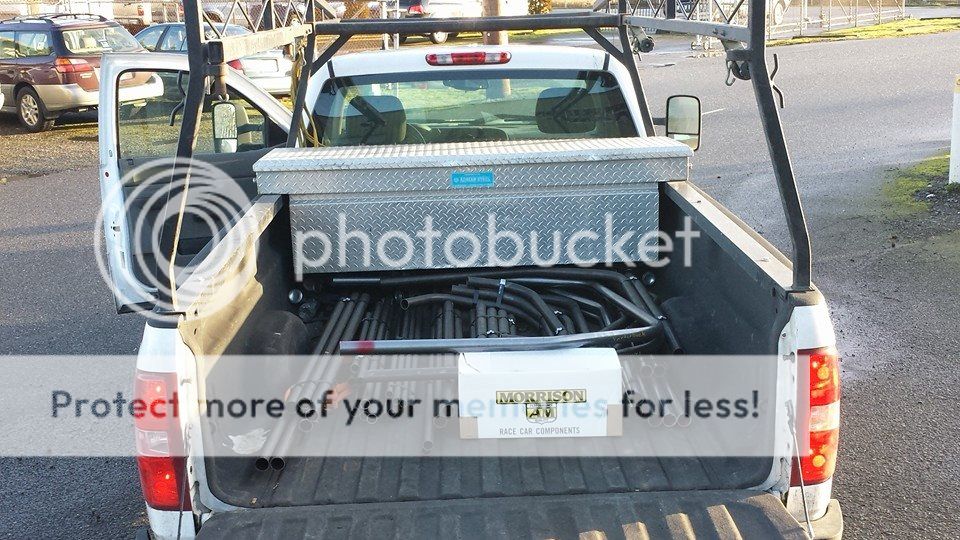
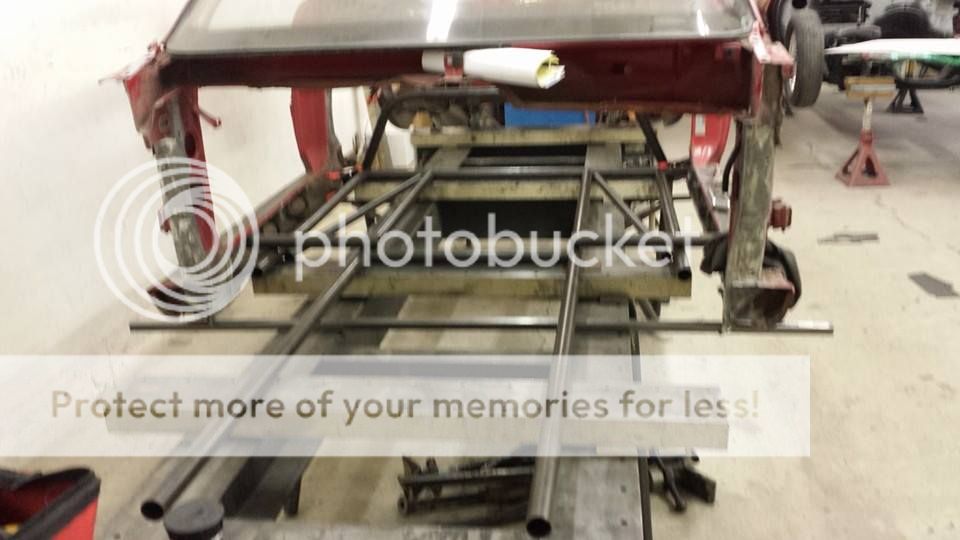
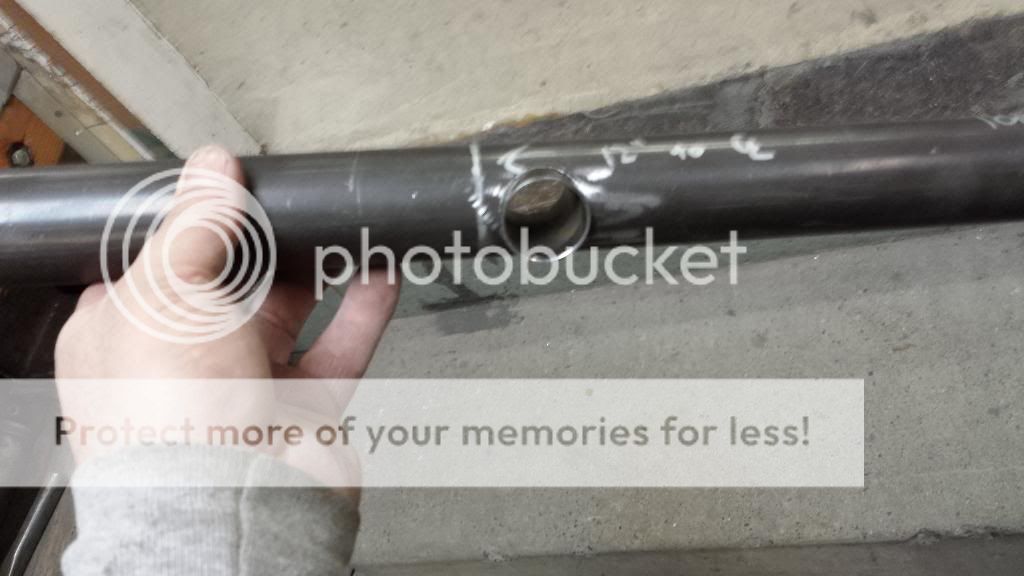
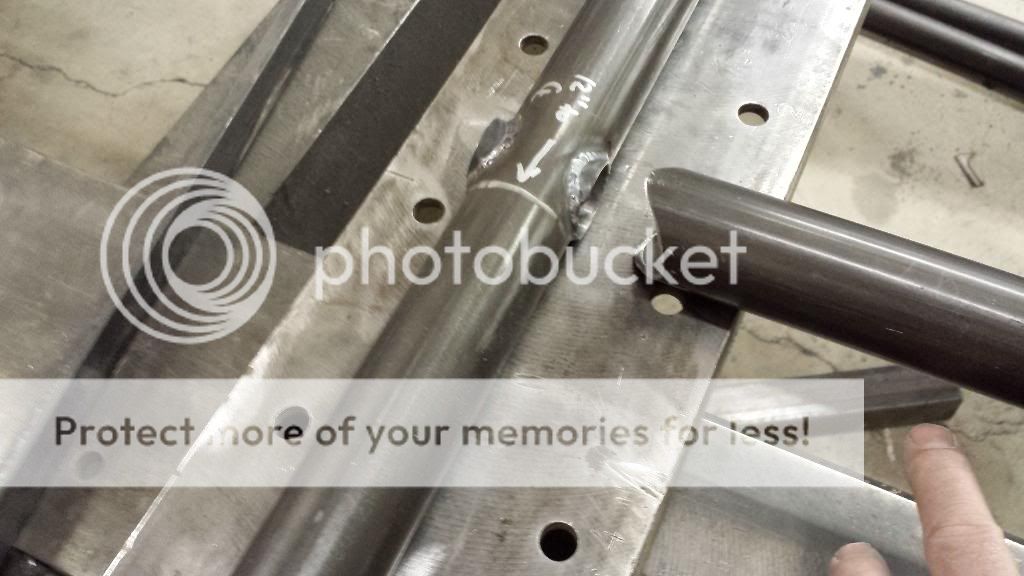
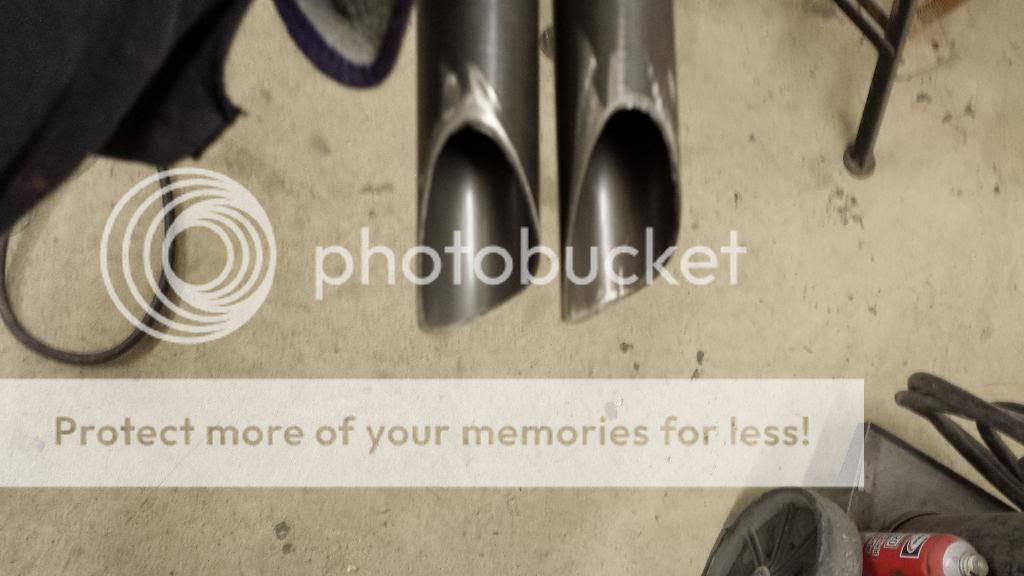
made a road trip today...... any guesses on the weight of the full tube chassis kit? chromoly, funny car cage, 6.00 to 7.50 cert. Top Sportsman level, Advanced ET, big car stuff.
this is my chassis, and the 4-link and shock mount kit. the ERW material is an 8 point my builder had tossed in on my "free shipping" thing cuz i fetched it sneaky guy haha.
and once again, i am truly amazed at the lightness this thing has......
Re: Aarons RWD #stancewheels 2-6-14
Posted: Fri Feb 14, 2014 8:27 pm
by scubadave
you know Aaron, as of late I had been wondering if I was too hasty in moving my project thread over here and letting the build threads over there sit and waste away. I don't feel that way anymore.
thanks for the good reads, and quite a bit of entertainment. phenomenal quote over there by the way. I like to say I TRY to live by that motto.
Re: Aarons RWD #stancewheels 2-6-14
Posted: Fri Feb 28, 2014 10:27 pm
by speeding-g60
catching up here..... played around with the wheel/tire combo. they are large. put them next to the 24.5 x 8.5 / 15's on the awd cars wheel/tire set. just a slight size difference.
oh yeah. the chassis goes to the builder in the next day or three. i am SOFAKING EXCITED!!!!!!!
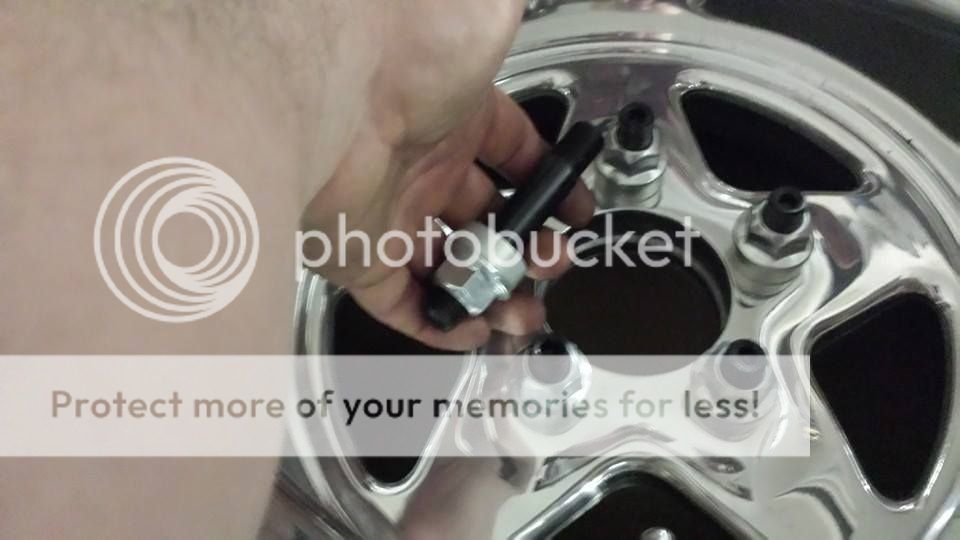
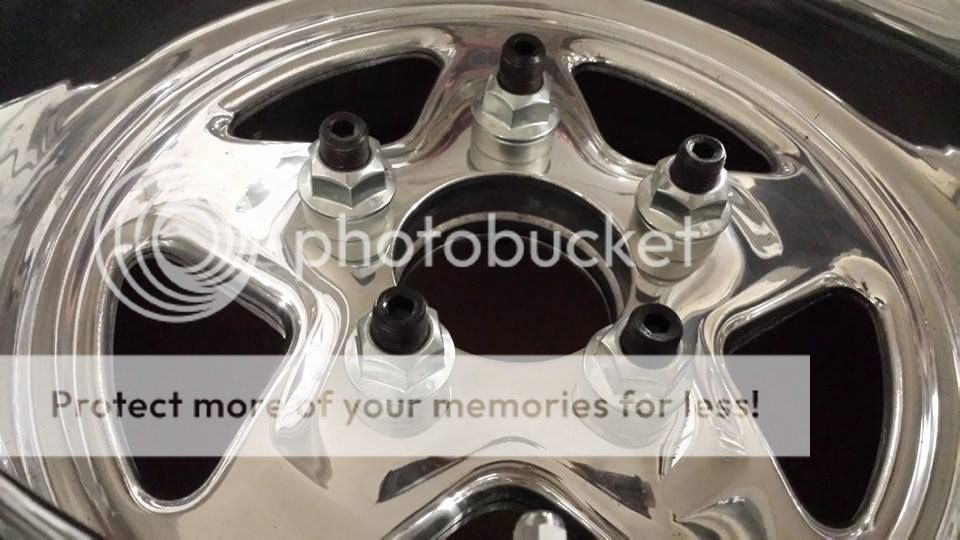
then i was messin with the new wheel studs. 5/8" stud with 11/16" shank, no shank style nuts, this shank is the centric device for the wheels. real car shit now.
Re: 2-28 picture update
Posted: Fri Mar 07, 2014 11:58 pm
by speeding-g60
did some work lately. was prepping the AWD chassis for racing when i discovered a rusted bore from leftover water freezing and wasting the block. oh joy, building yet another motor
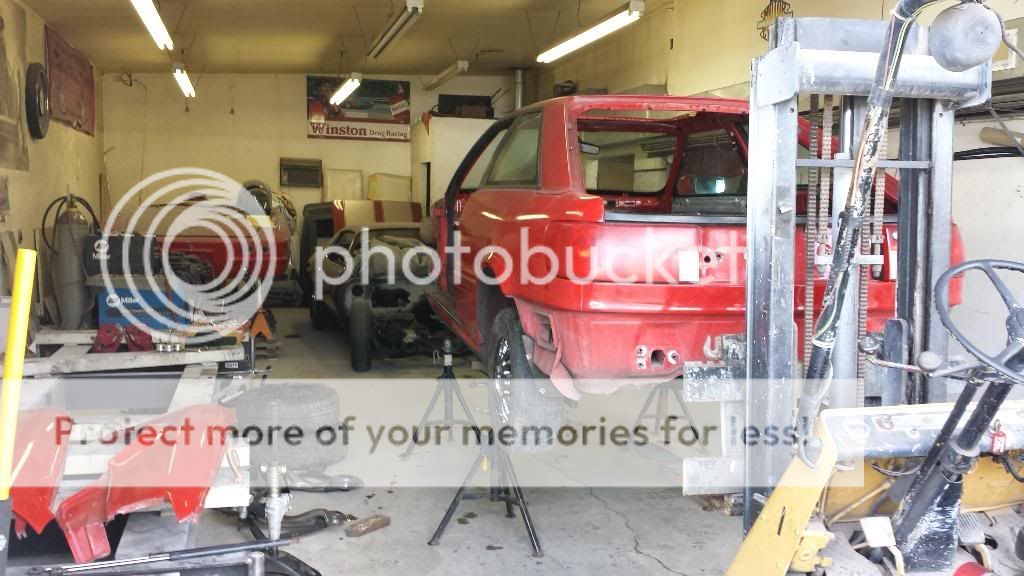
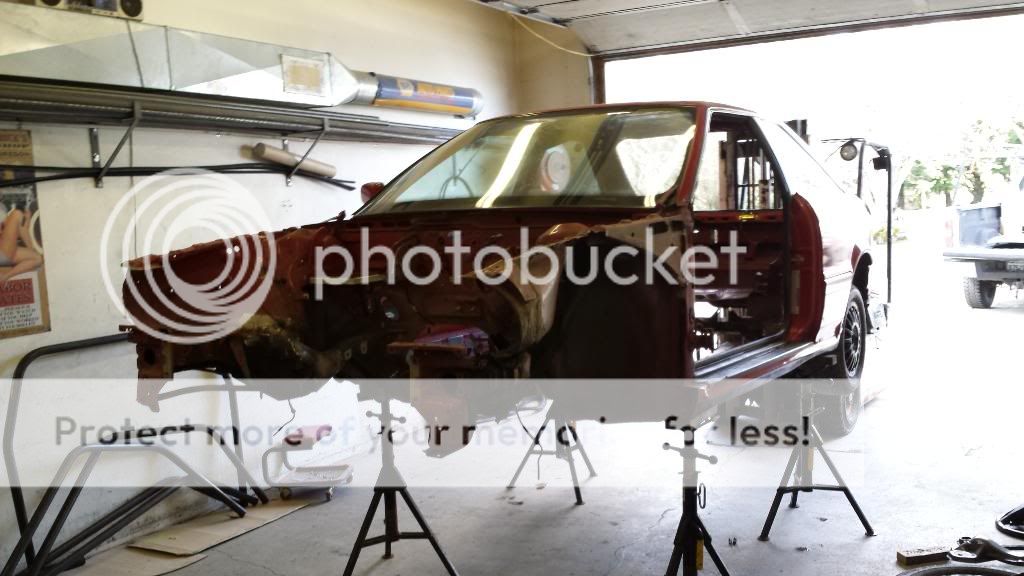
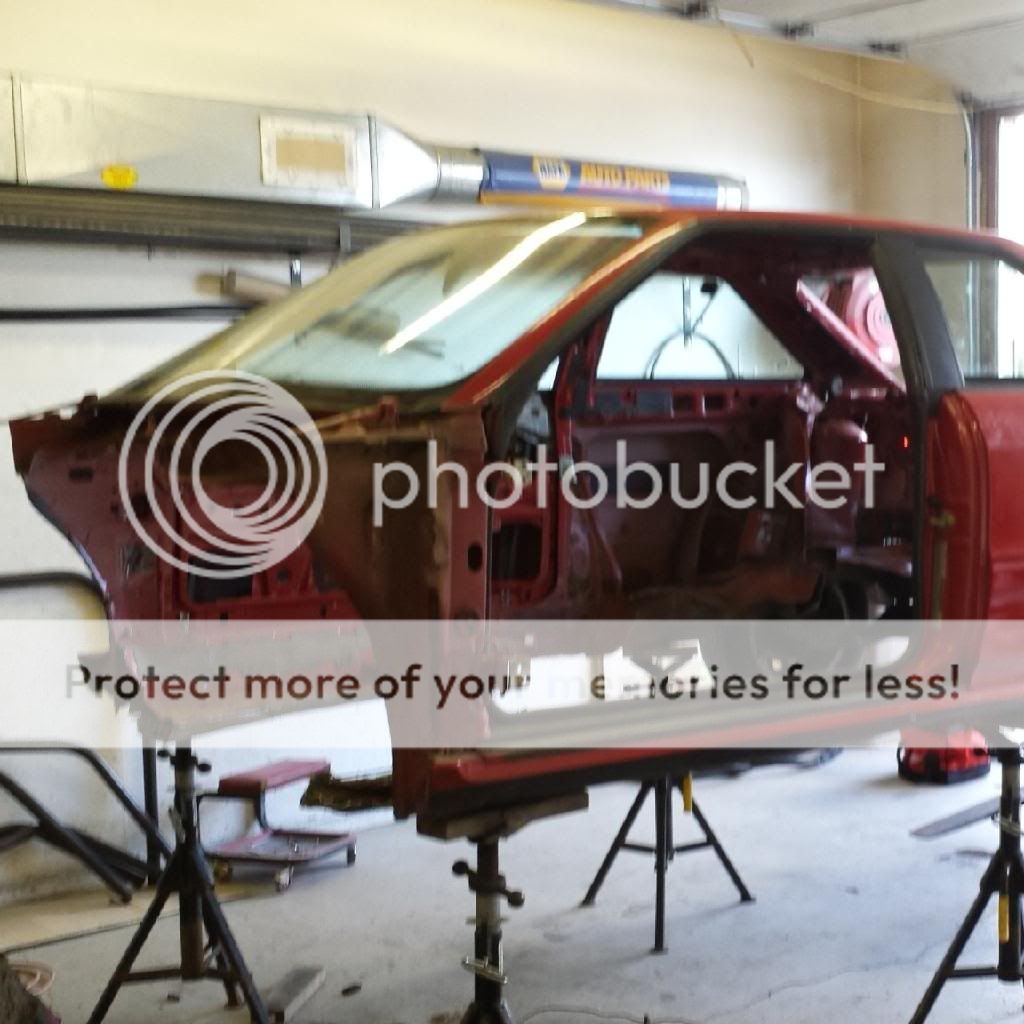
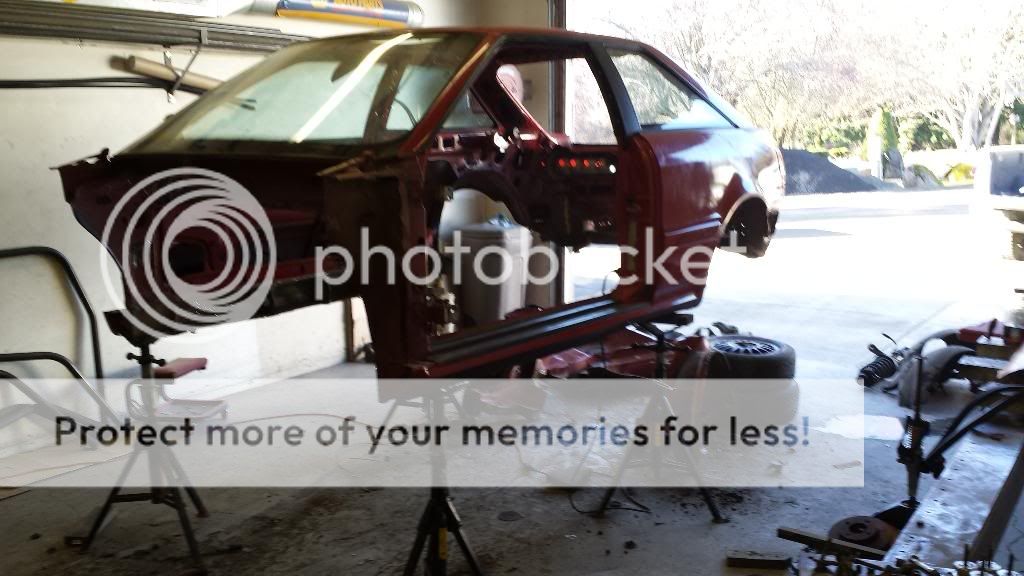
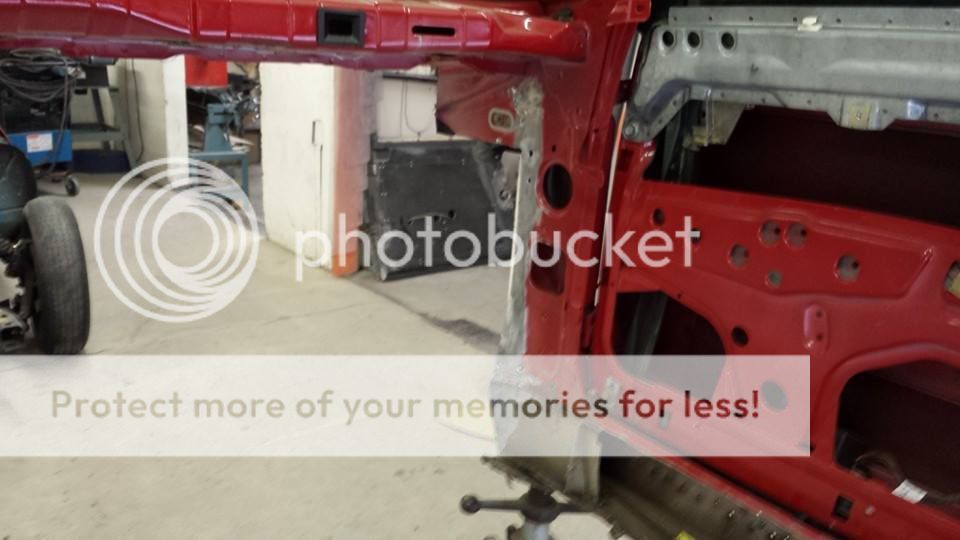
but thats a different story, this one here is about this car that is on one hell of a diet today HAHA
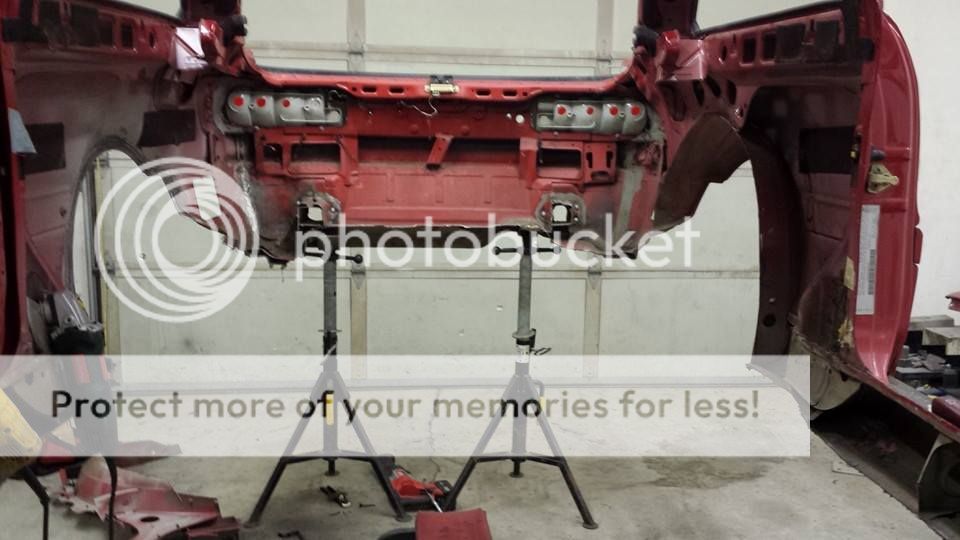
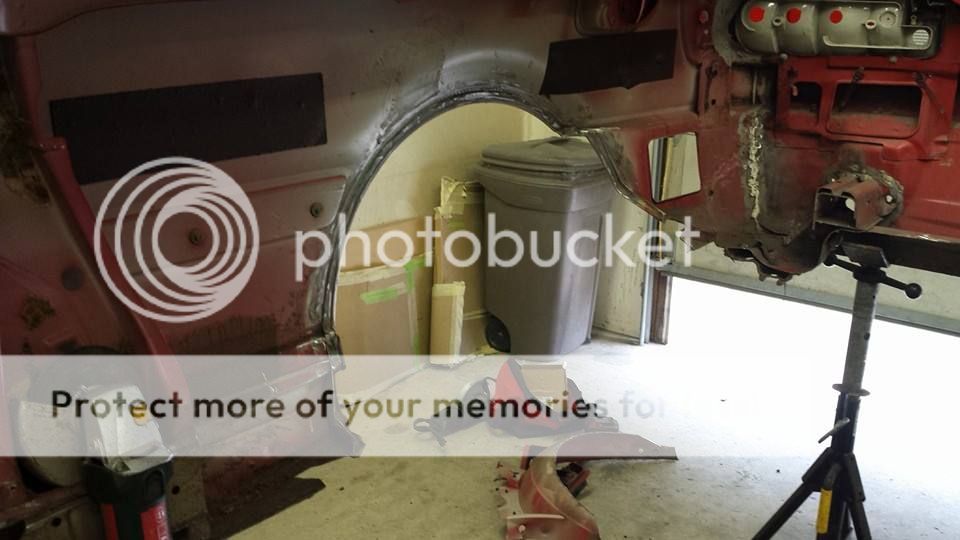
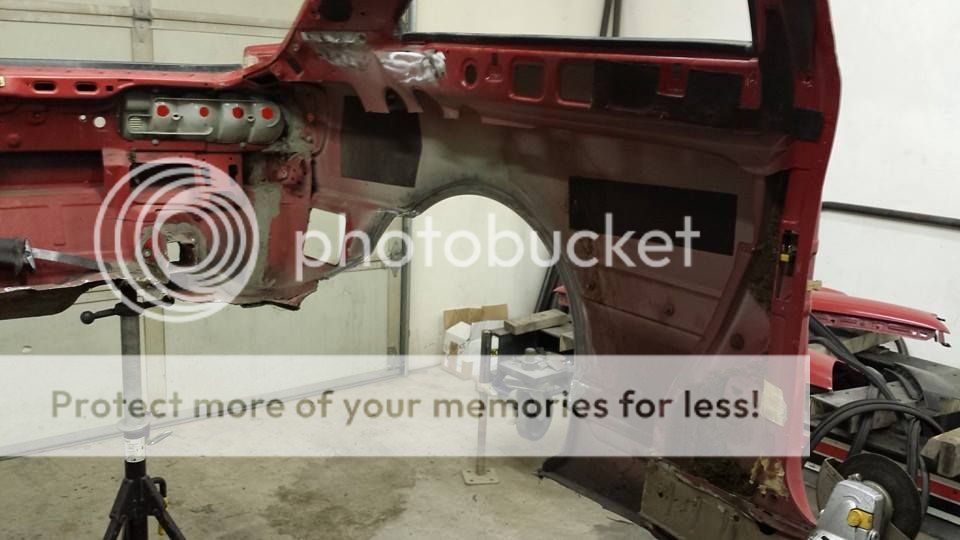
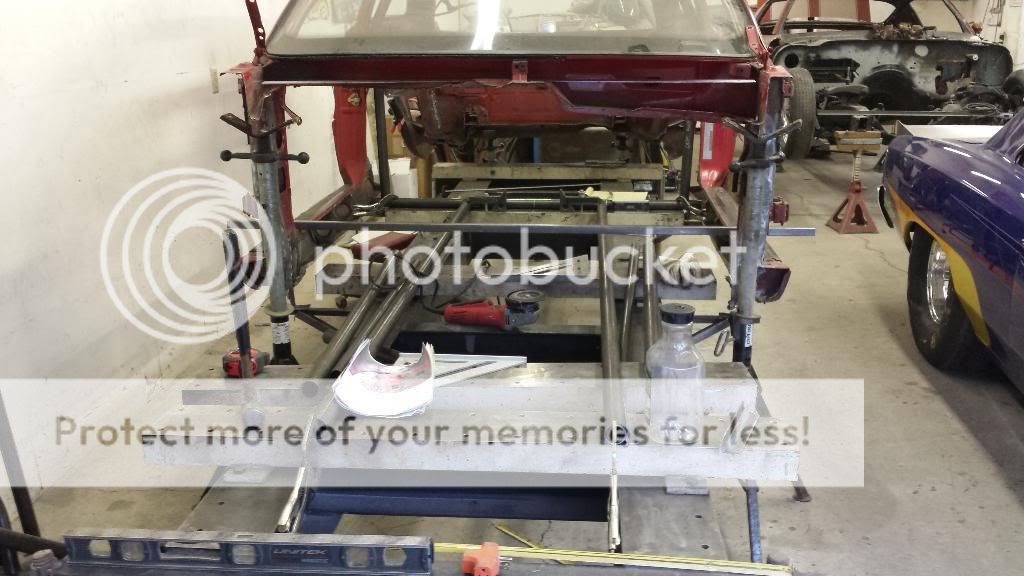
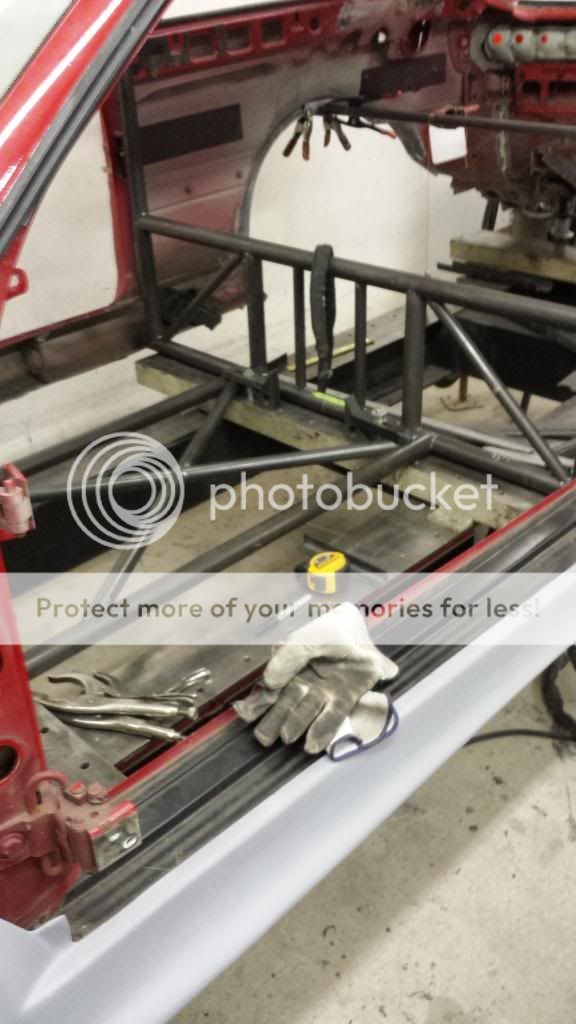
i took the car to the chassis shop this week, and i spent the better part of the day there today cutting a little bit of stuff out of it doing what i can myself is saving me a couple bucks, like around $400 today probably. i will go back tomorrow and get some more cutting done, finer cuts as these were rough cuts. get the car on the table and away they go. already have plans for lengthening the wheelbase (from 100" to around 102", not too much) but widening the rear arches is gonna be fun. for him. and we are building it to the larger slick now, so i can move into those at a later date.
Re: 2-28 picture update
Posted: Fri Mar 07, 2014 11:58 pm
by speeding-g60
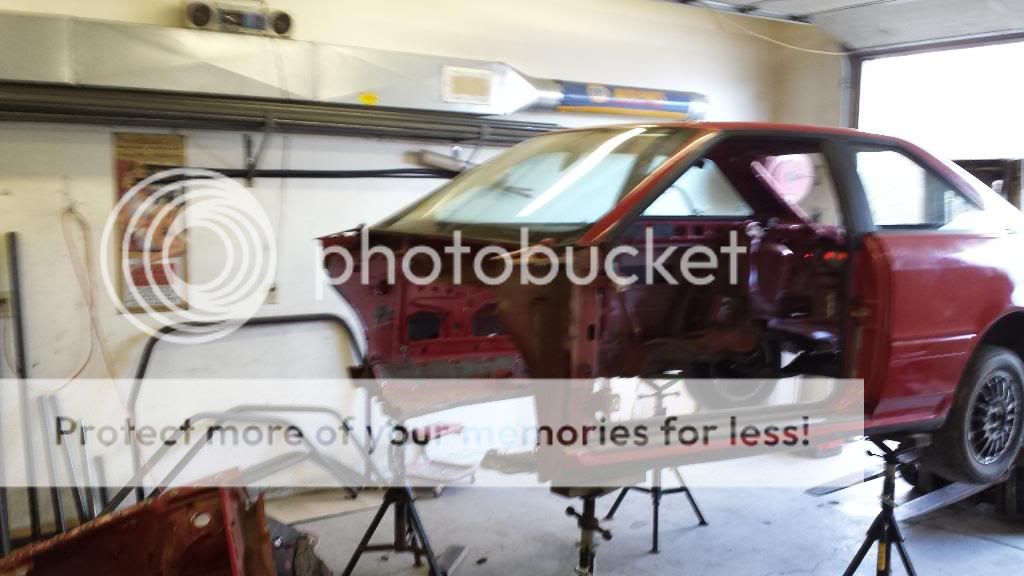
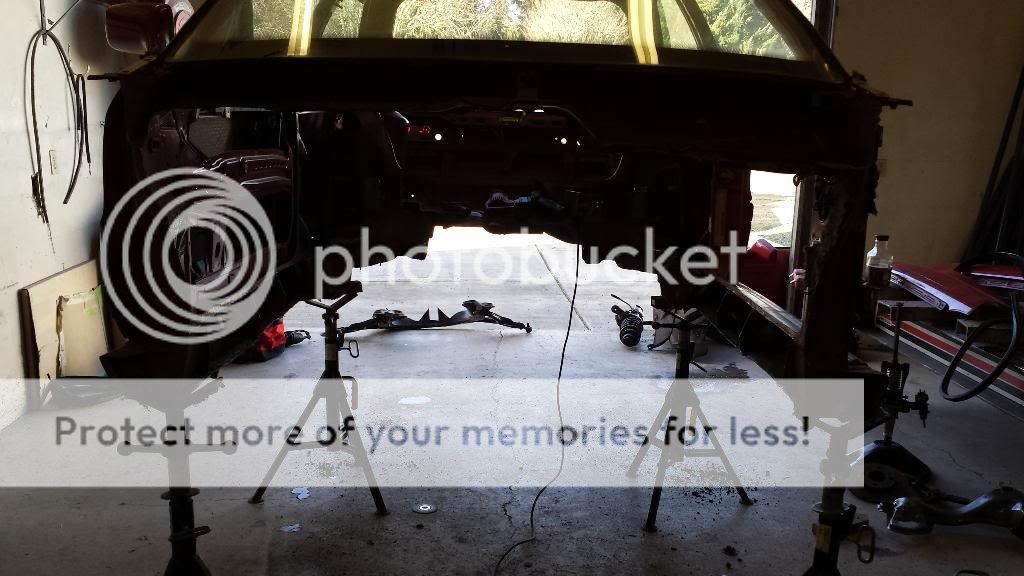
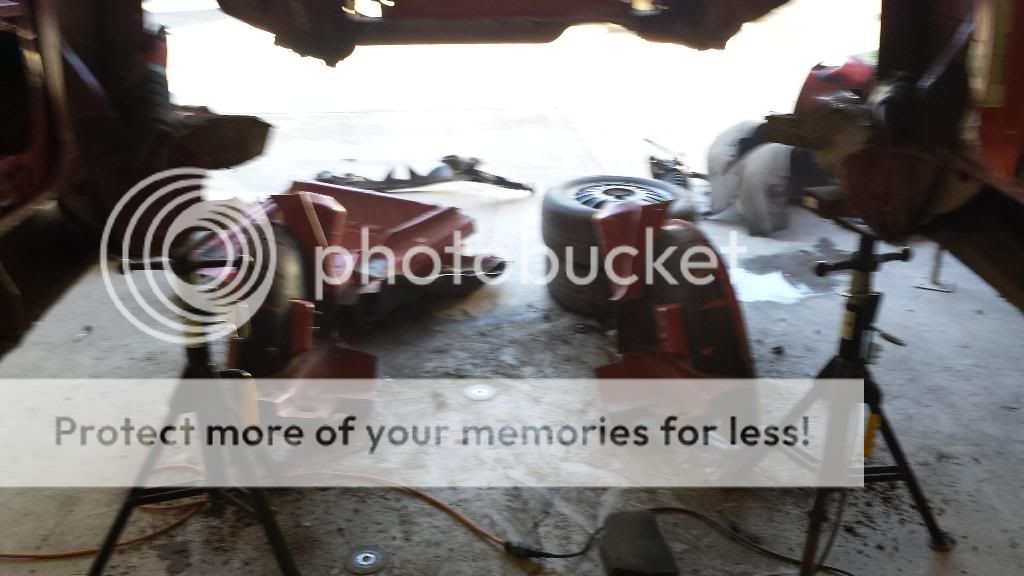
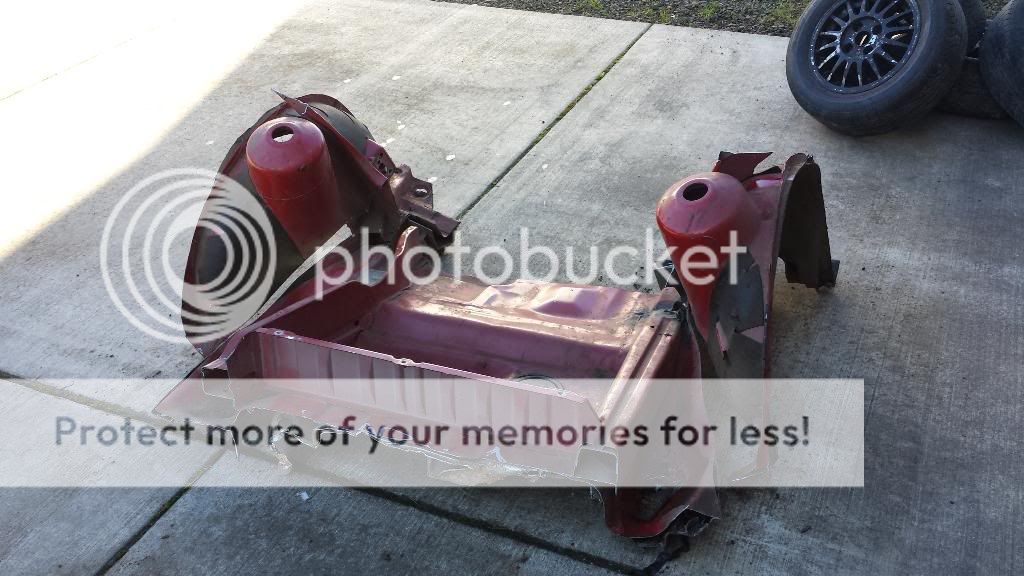
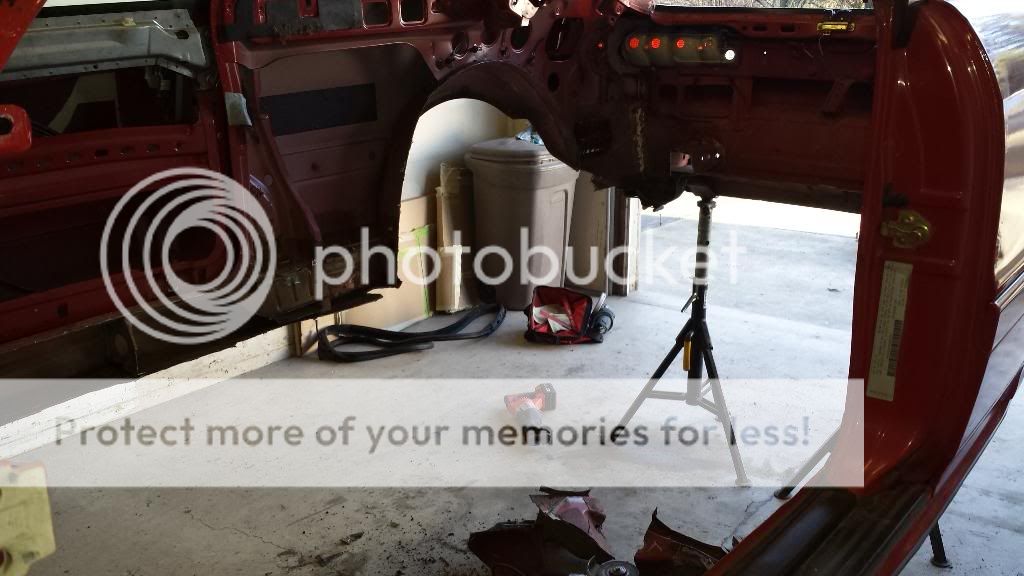
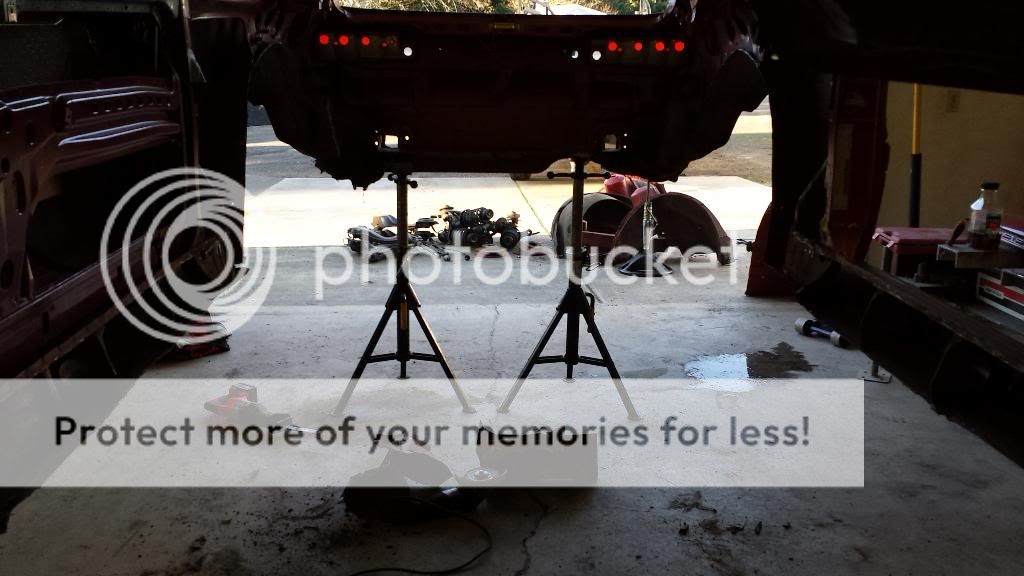
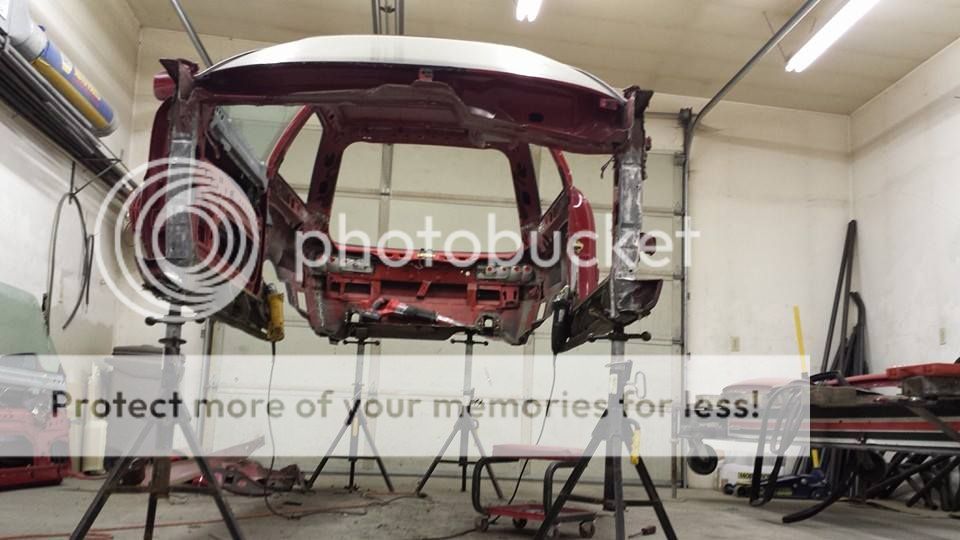
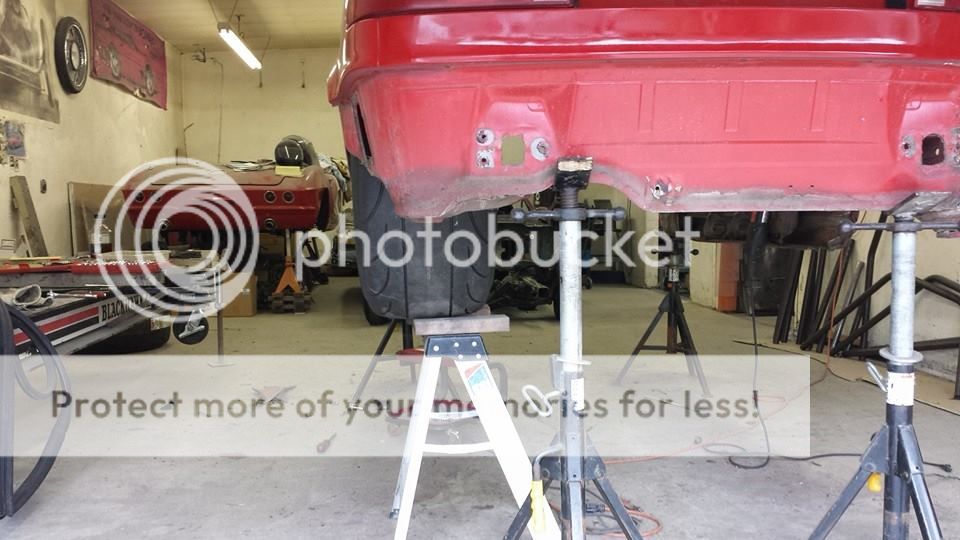
this work was about 5-6 hours. pulling all the suspension i left to get it here and rolled around. it was light enough to pick up by myself either end before i started today, but its really light now. i picked up the front by myself and placed it on the stands this high. the rear still had suspension as the forkenlifter would not have had a place to lift by if i removed the subframe.
one nice thing is this chassis is being built to be able to remove the body from the cage/frame. that will be sweet for car shows (i plan to have it at one or two this year just as a roller for display) and stuff like wiring it all up.
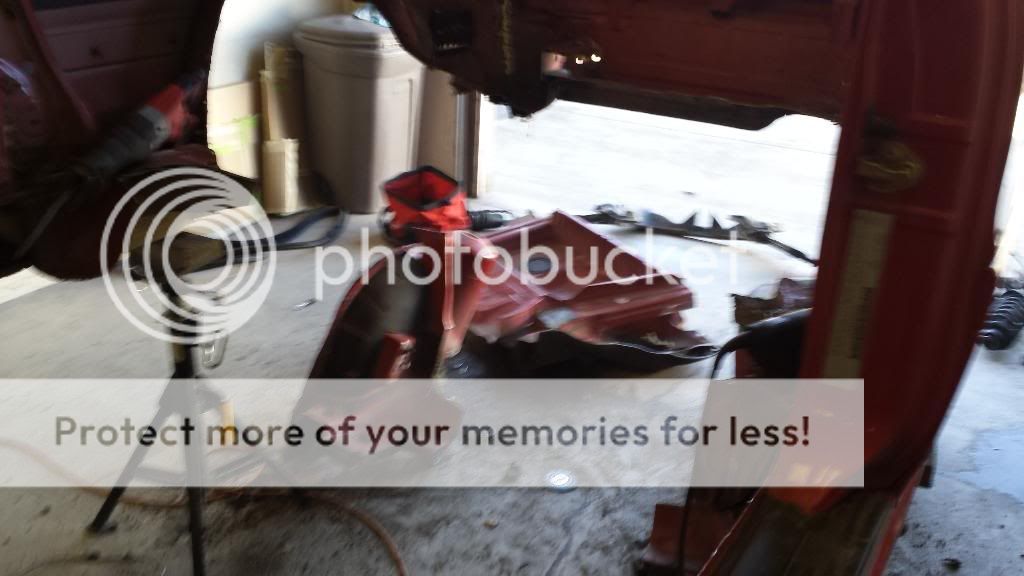
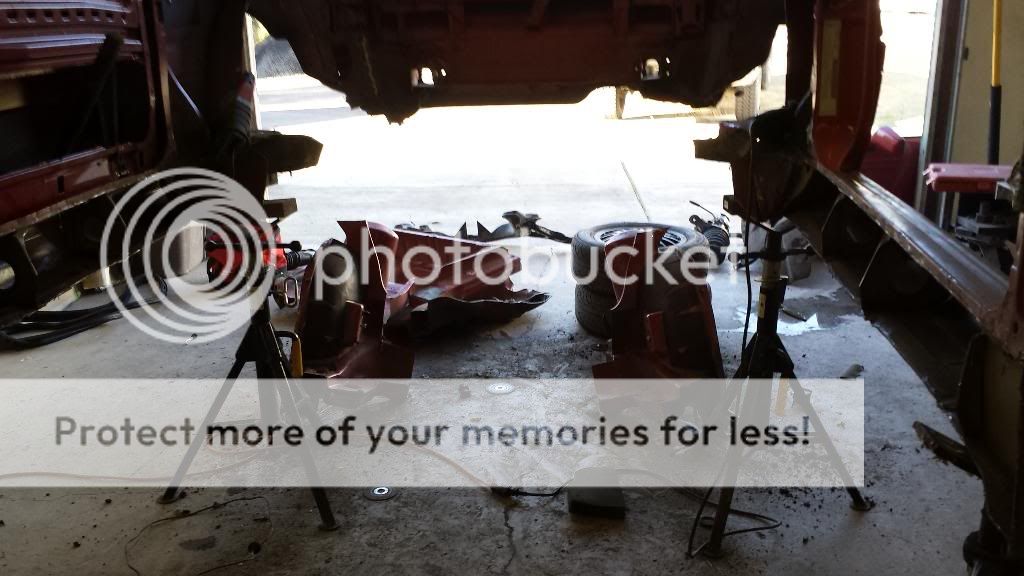
anyhow, on to a few more pix, i didnt want to overload one post.
and a parting shot until i return tomorrow. i will be leaving a camera with them hoping they take a few pics for me during the week as i work out of town. but, office work is slow so i will be leaving as son as i can daily to go there on the way home. only about 6 minutes from my house which is really convenient for me.
Re: 3-15 tube chassis started.
Posted: Sat Mar 15, 2014 8:49 pm
by speeding-g60
yeah, i think i skipped an update. boring and a waste of time talking to ones self. it takes some time to make posts, and update project threads on car forums. this time comes from family/project/home life. it seems easier to do it on a place like Facebook, where most all of the people i am "friends" with on there are about cars, racing, modding, etc.
here was the last status i didnt post here, and the next one i put up today.
3-8:
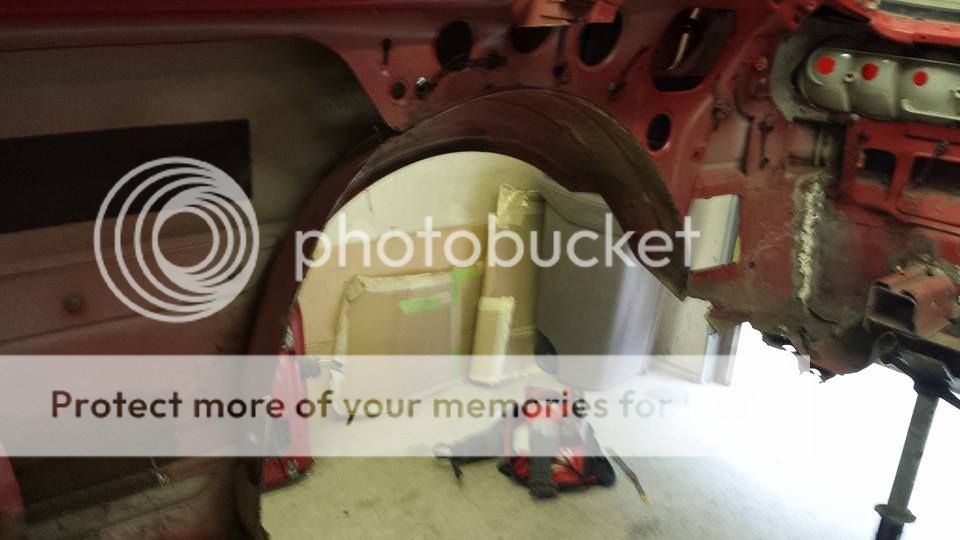
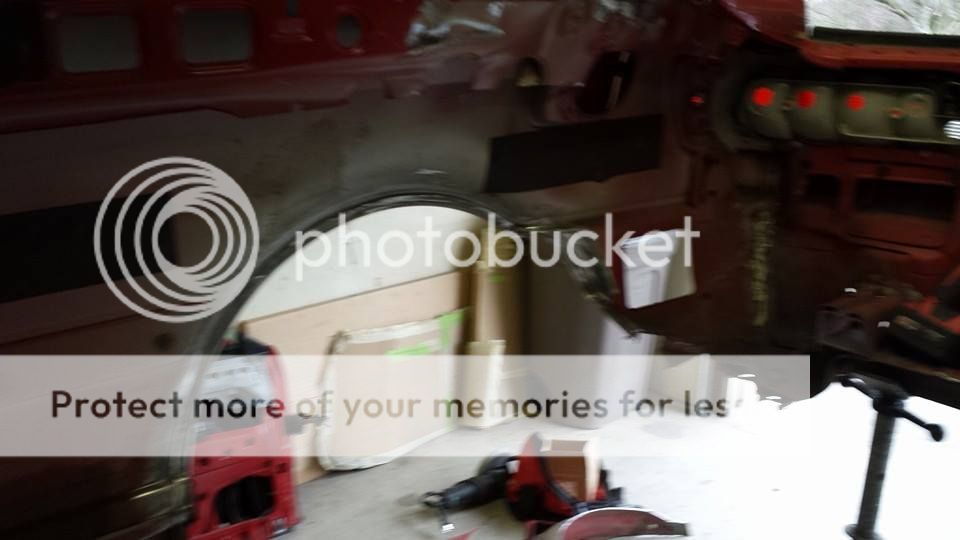
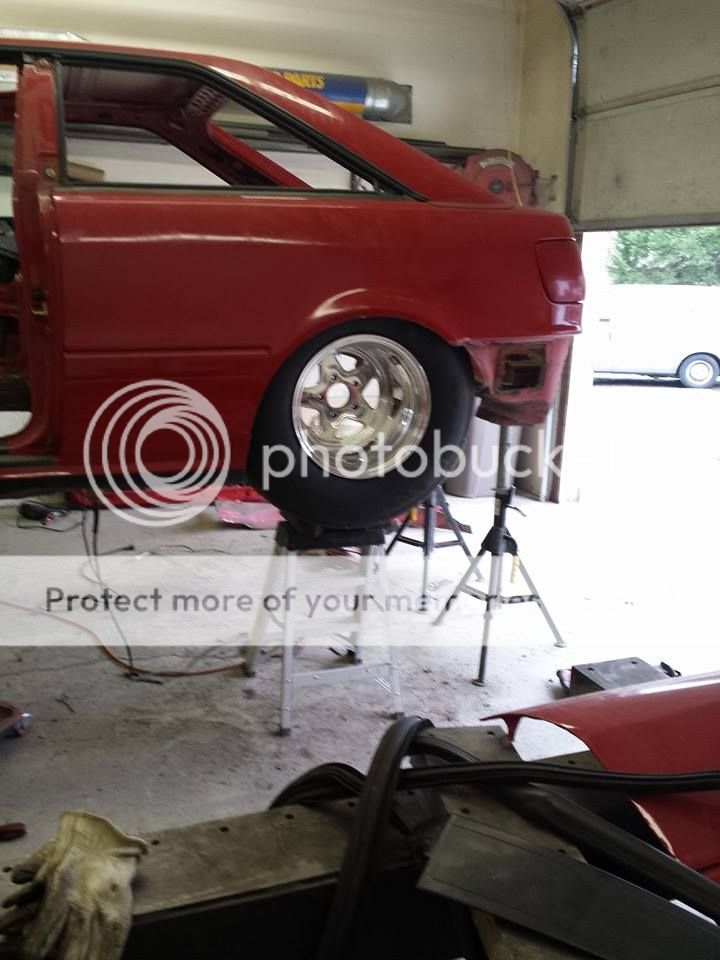
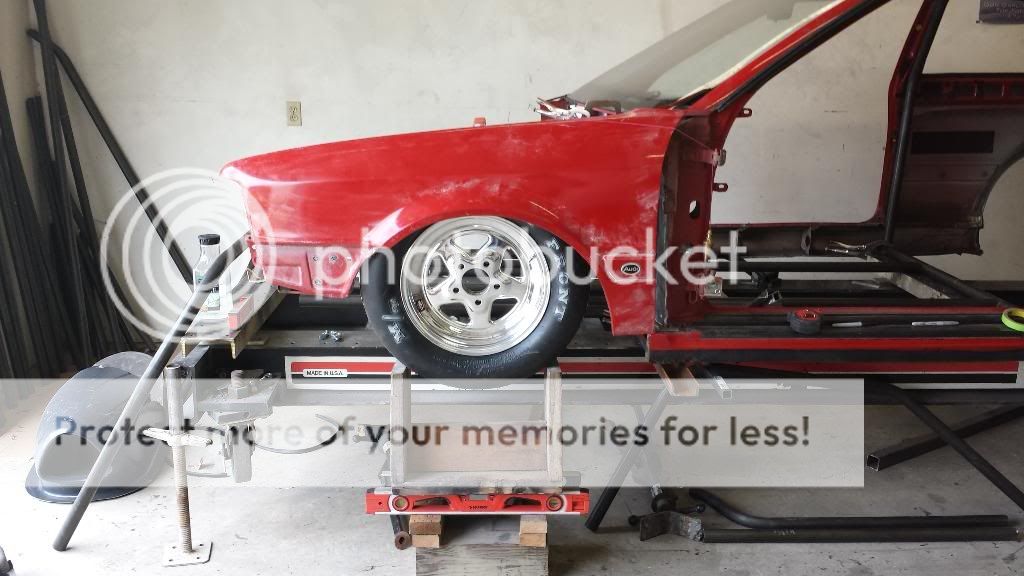
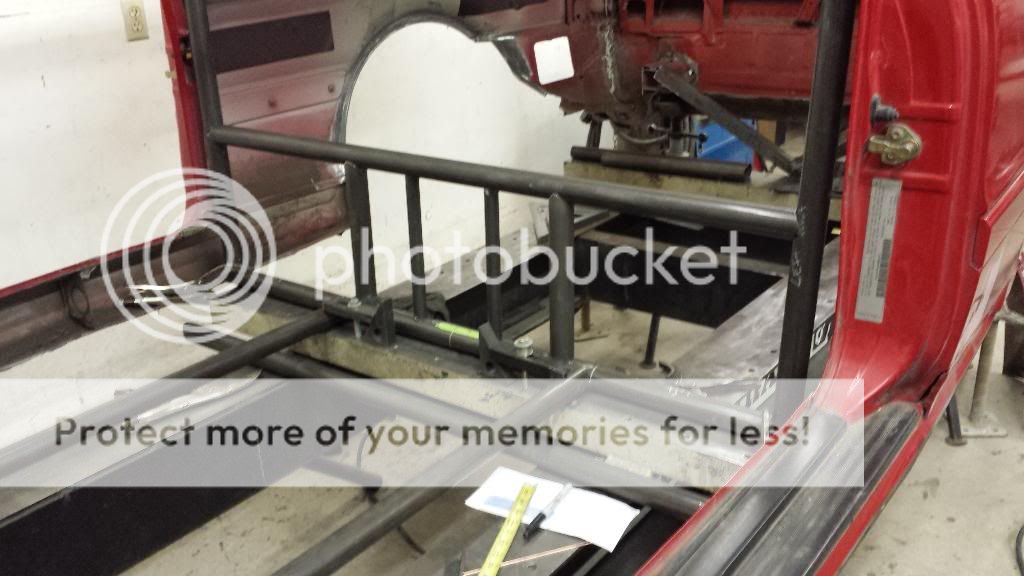
more work today. a lot of the tedious little trimming stuff up is done. test fitted a tire, this is gonna be FUN!
and i played with the wheels some.
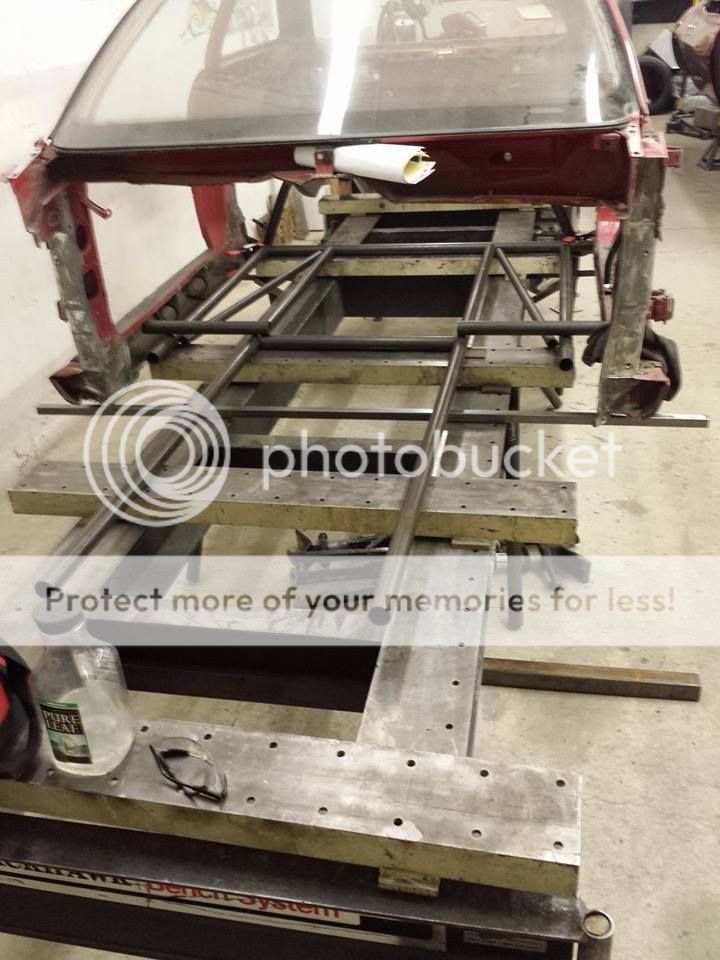
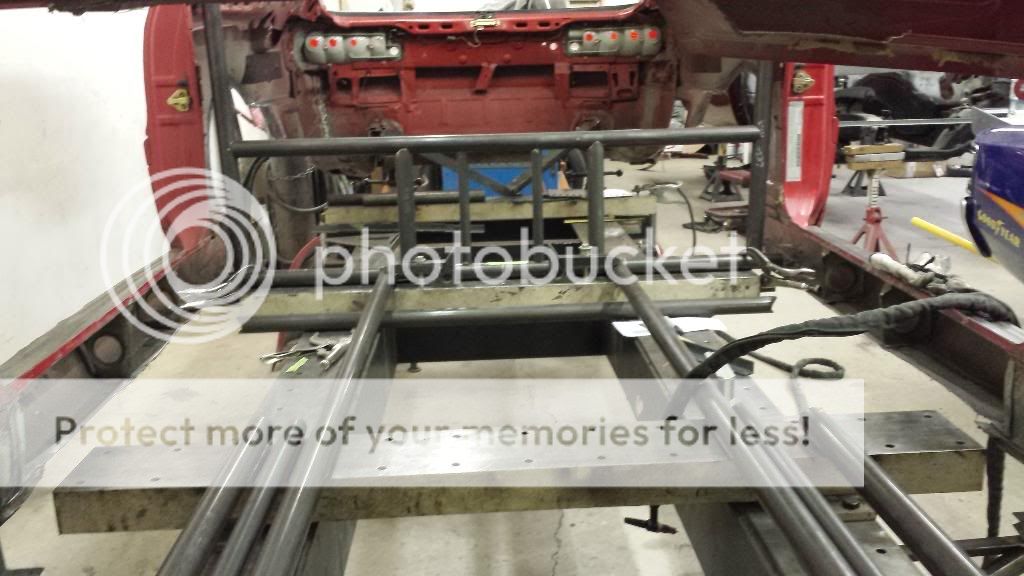
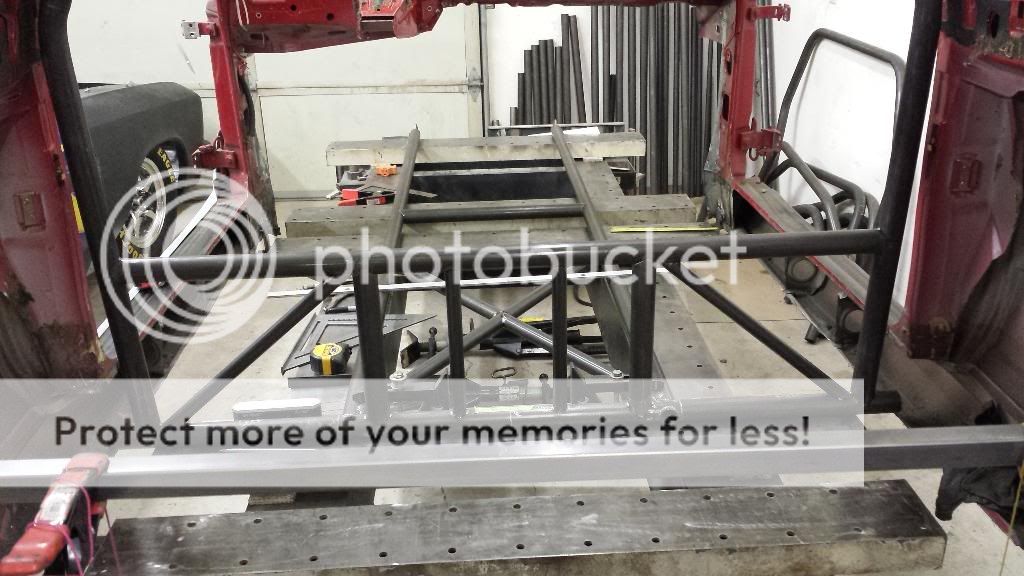
3-15: did just a little bit of cleanup on the chassis table, wire wheeled all of the surfaces and wiped them down. car is set up on the table but not in a final height yet.
so i played around some with putting pieces of the puzzle into place. just taking dimensions off the blueprints and putting pieces here and there. looks neat.
Re: 3-15 tube chassis started.
Posted: Sun Mar 16, 2014 7:14 pm
by Toph
Good God that looks awesome with that much tire tucked in there. How do you intend to attach the body/make it removable? Do you have any idea how much the body now weighs? Keep it up, I can't wait to see coupe wheelies haha
Re: 3-15 tube chassis started.
Posted: Sun Mar 16, 2014 8:06 pm
by speeding-g60
i can be under the body and pick it up off the stands completely by myself, and i have a really hurt shoulder right now. maybe i shouldnt be picking cars up haha.
the hoop will be attached with tabs at the stock seatbelt mounts up top, and along the rear plate panel, and in front of the rear wheel wells, and along the rockers, and by the door/A-pillar area.
at this point the body being attached to the chassis is only to secure it there, there is no more structure being provided by the body itself.
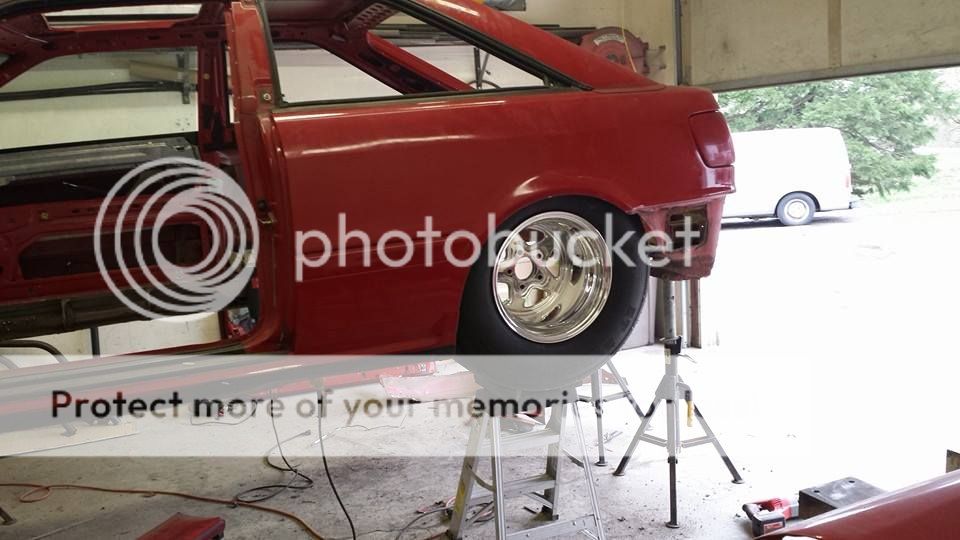
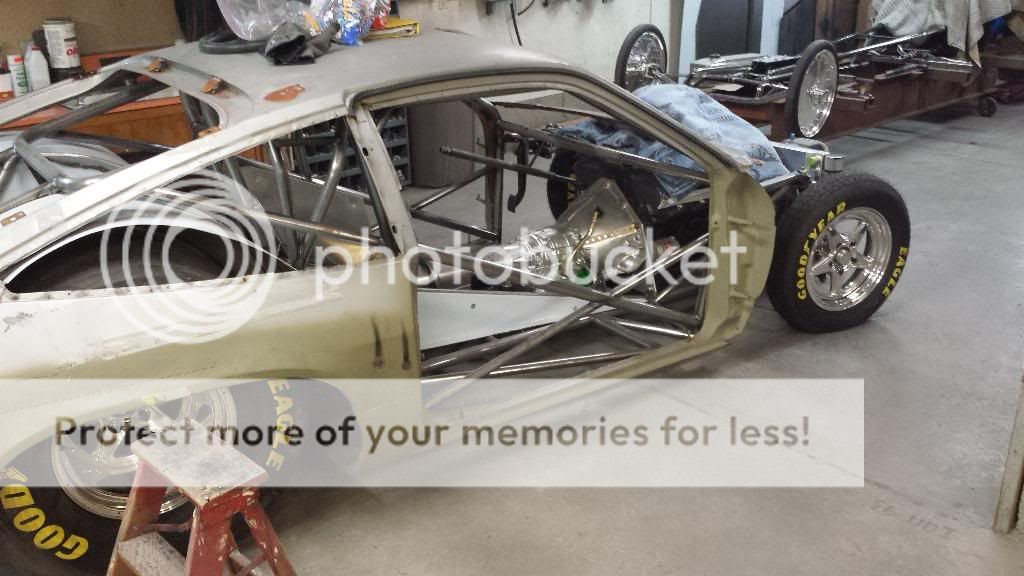
oh yeah, that is just the beginner tire, this is the tire i am probably going to run when i step up. we are building it to support a 32 x 14 and/or 33 x 10.5W tire size on a 14" wide rim.
one of the BEST parts about this is that i get to help and slave away on this to help save me money and get some hands on experience setting up a car properly. i am learning the whats and whys of how this gets built. that in itself is priceless education for a person like me.
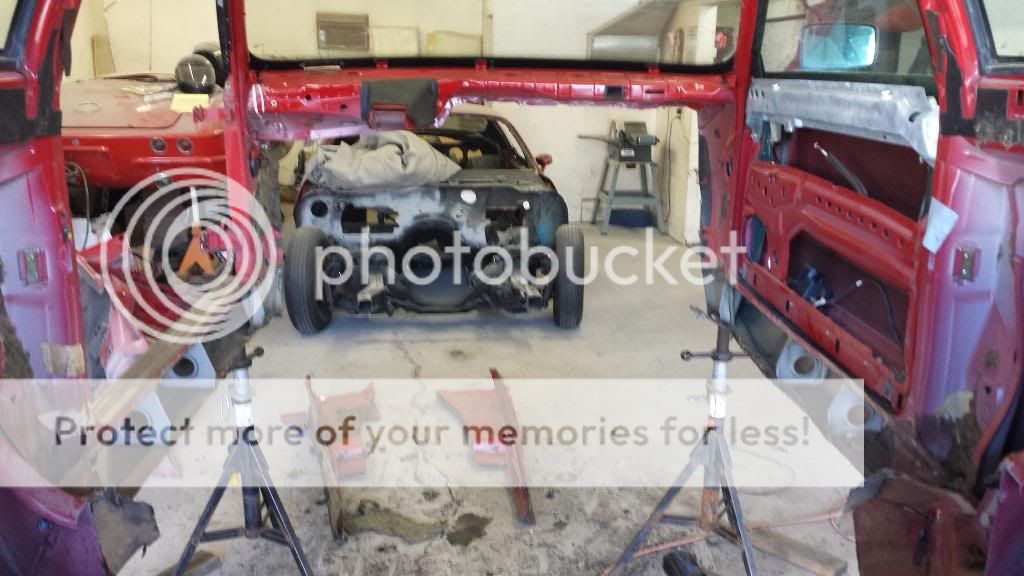
this Monza was used to provide me a measuring prop to measure up for my car, and my car will be built very similar chassis-wise. and no i wont go quite this low i dont think. close, but not quite. my car is much taller inside than the Monza, has a more vertical rear quarter so the tire wont be so tucked, etc. very very similar dimensions though. this was the car i was waiting to get done on the chassis table so we could start mine.
Re: 3-15 tube chassis started.
Posted: Wed Mar 19, 2014 4:48 pm
by gregdell1121
This is such a cool project! So different from anything I've seen from Euro guys! I love it, keep up the good work buddy!
Re: 3-15 tube chassis started.
Posted: Wed Mar 19, 2014 10:13 pm
by speeding-g60
thanks!!!!!
i did some stuff this past week and weekend, figured i will reply when i get a reply. fair enough i think laying out pieces like a puzzle, and then we rebent the hoop as it was shorter than we had wanted. i measured up the Monza, but did not take into account that it has been dropped about 4" over the rails, and thus has an even shorter hoop. they did appear to have added a couple inches to the length of the legs, but that was to the as-built size, and the Audi is much larger inside than that Monza was.
i Spent most of the day at the shop today, working on squaring up the frame rails, coping them to fit crossmember, etc. Drilled and sleeved a hole for the batter cable to run thru the framerail so its protected and hidden. And I am doing all of this work myself so far, and he is welding and directing me as to whats next. So milling parts, coping, lathe work, thats all me so far and I am really happy about that. Learning while saving, how can I go wrong there? hoop crossmember and rails are now tacked in place and will not be changing.
Established what we want to do for wheelbase and rear end placement. Moving the rear forward two inches and widening the opening 5-6". Stretching the front of the car 4", leaving us with 102.5" wheelbase instead of 100".
Aaaaaand, looked at the slick size I will eventually use in the future, and MAN THATS A BIG ASS TIRE! Something about real life and cardboard template that just doesnt relate. No comparing the two in person, thats for sure. This is also with the front fender 4" forward of its normal spot.
Re: 3-15 tube chassis started.
Posted: Thu Mar 20, 2014 10:56 am
by my2000apb
sweeeeeeeeet
get that factory sheet metal outta there!!!
what do you estimate final weight to be ?
Re: 3-15 tube chassis started.
Posted: Sat Mar 22, 2014 11:52 pm
by the german
Love seeing this thing come together, and as said before it's really cool to see something completely different from what other folks are doing. It's pretty funny to me how little CQ is left... just a few bits of sheet metal and nothing more. Keep it up Aaron!
Re: 3-15 tube chassis started.
Posted: Sat Mar 22, 2014 11:53 pm
by speeding-g60
i hope sub-2000. should be possible. here is the weekly update. no need to update more frequently as i am now focusing on my own website to document things i do with cars now.
more workin....
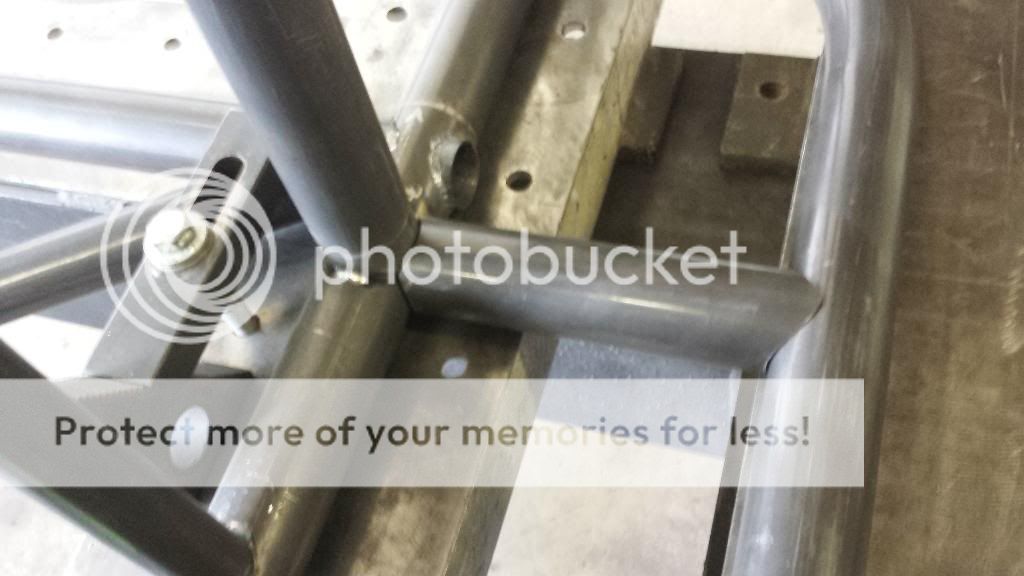
So I have been building the main hoop bulkhead (I dunno what else to call it) and just working away at what I can do myself. Every tube I lay out and measure/cut/notch/fit, it saves me money. So I am doing everything I can, as I OWN my time and its value is how I see it. And if I can save dollars by trading TIME, then I am all for it.
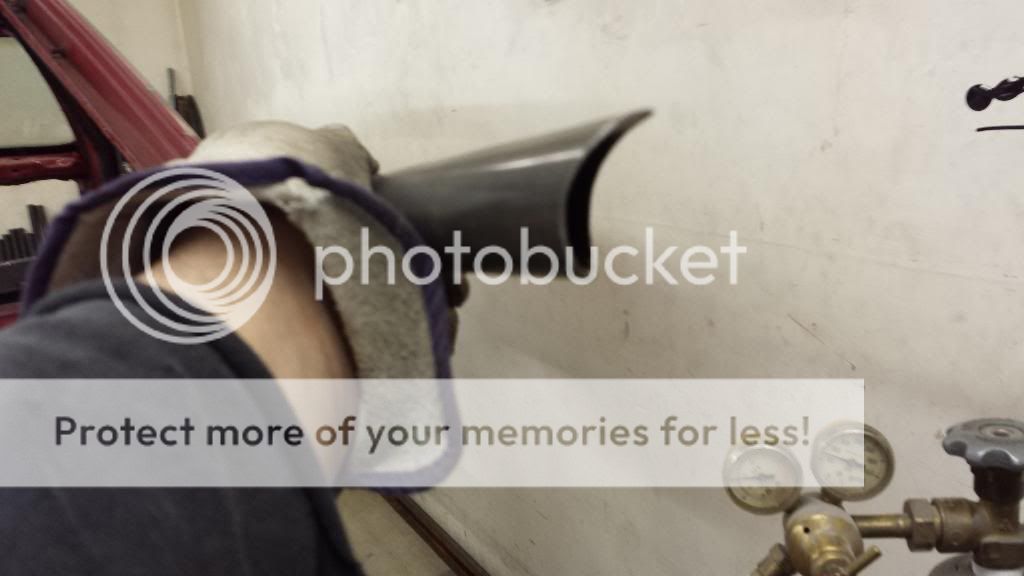
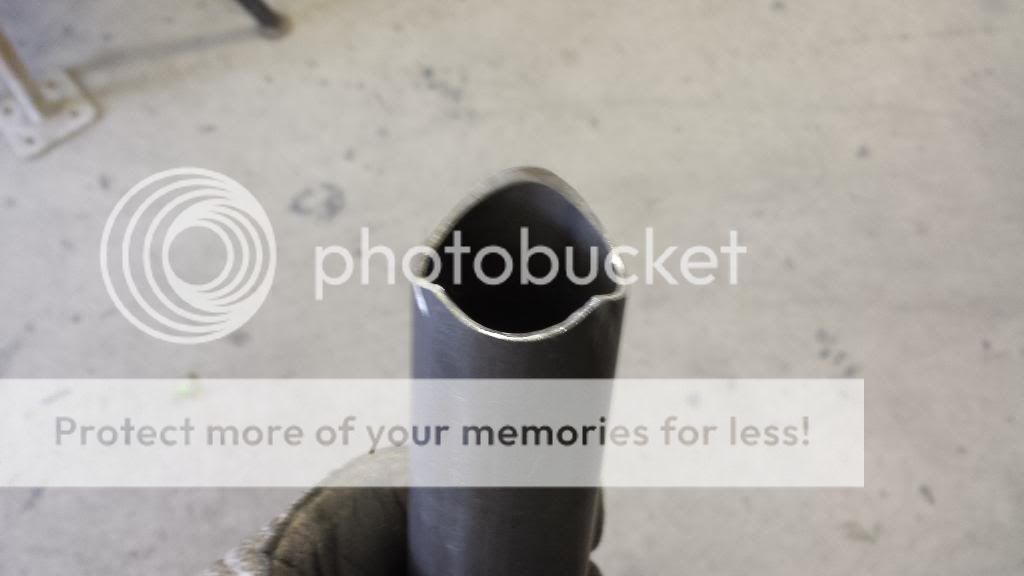
Having the RIGHT tools for the job certainly makes things much easier, such as this “Tubing Notcher” aka end mill. Its a beast for sure, and it just eats and eats.
I didnt update yesterday, but I spent the greater portion of the work squaring up and leveling the body, making it square/level/plumb to the chassis rails and hoop, and welding it down so it does not move. Then I proceeded to make the first upper crossmember in the hoop; I made it a tad shy of the length it needed so I quit for the evening and came back today and remade it. Material not wasted, just my time. I will use the piece in some place or other……
and the SUPER NOTCHER!!!! aka Endmill
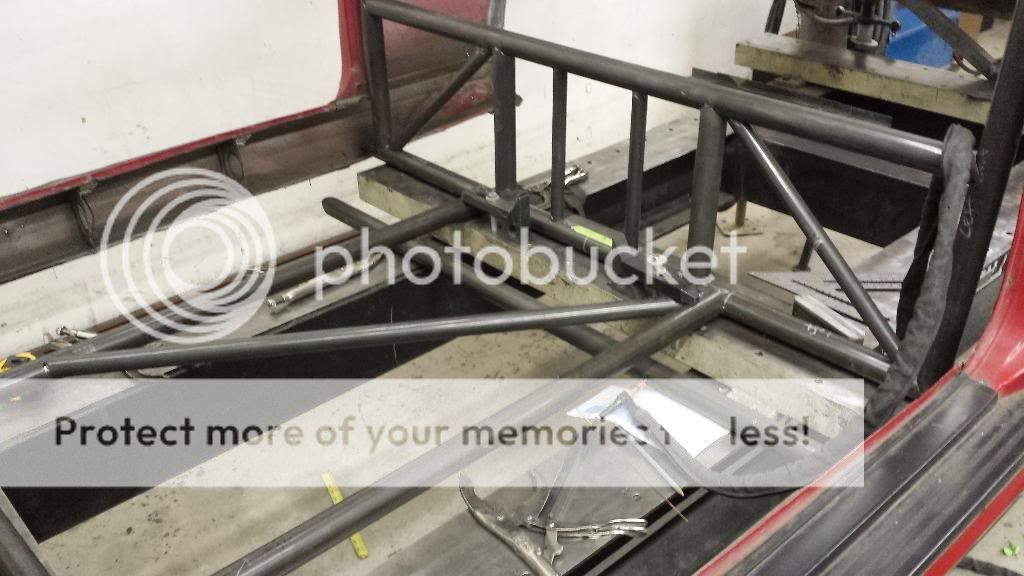
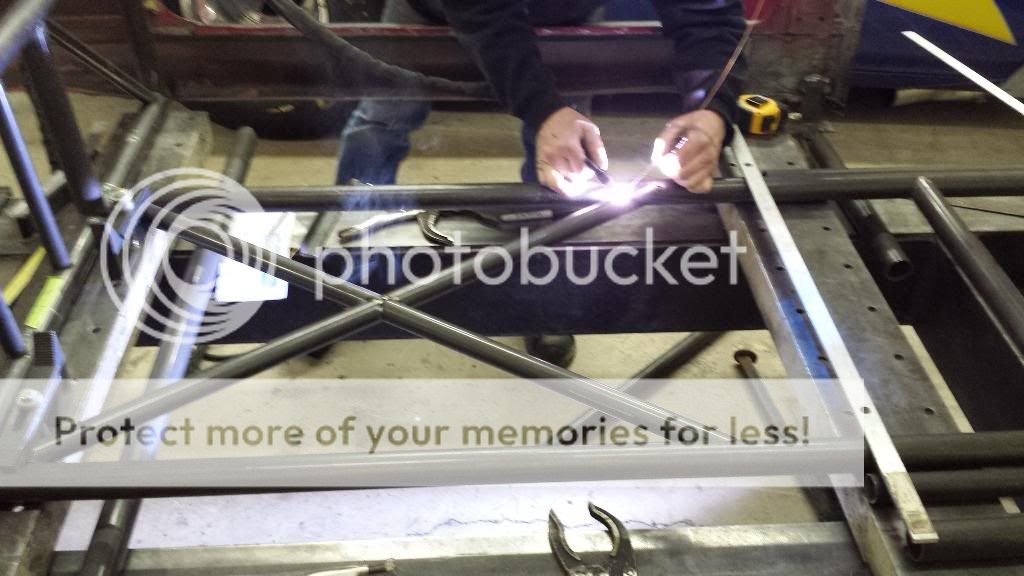
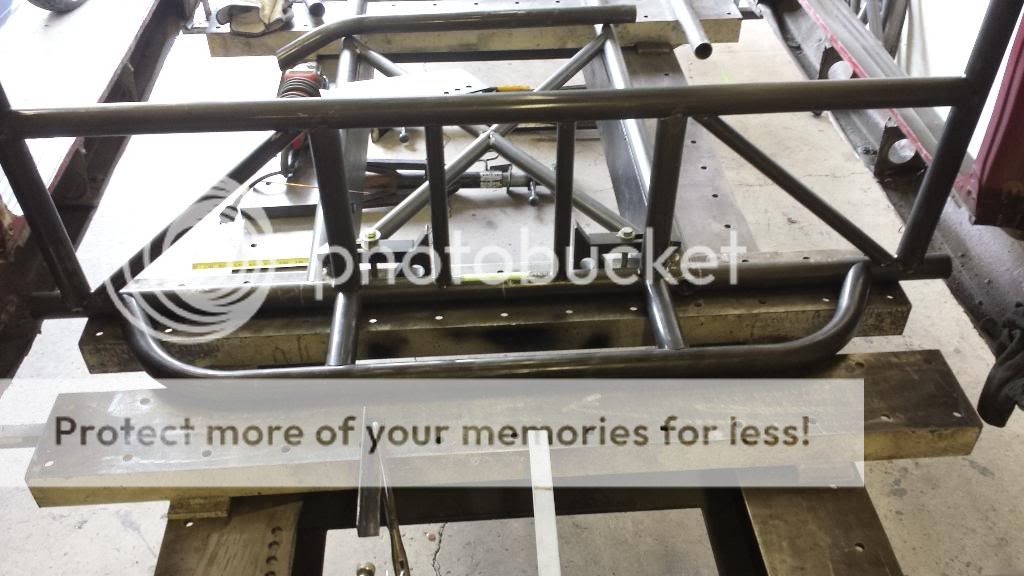
More done today. Made the diagonals for the bulkhead, and then made the main floor X-bracing. That was tricky as I have no experience with this really and this one was coping a 1.25″ bar into a 1.625″ bar offset so the tops were flush on one end and then center intersected on the other. Vanderbeck is showing me how to do the work, and I am learning quickly! ITS FUN I TELL YA!!!!
Then we set up the rear end centerline and elevations, and were talking about what to do to box out a frame section for the front plates. I suggested we scavenge the first hoop and use it that way we will not have to add lateral diagonals or internal diagonals, and he likes that idea. So I started to cope that tube after i cut out the end parts I do not need, and have the angles set and just need to make the legs to length now.
Re: Aarons RWD car 3-22 pix update: tube chassis work
Posted: Sat Mar 22, 2014 11:58 pm
by speeding-g60
Kirk, you must have posted RIGHT when i did.
the fun stuff is yet to come. widening the rear arches by 6", all forward. but the most work will be stretching the nose of the car 4" forward, keeping the wheel arch shape and bumper proximity but adding the 4" after the arch before the door edge. i think i have decided that cutting the front 4" off the doors, as they are the same shape and contour, will be easiest and putting them onto the fenders. i have to make molds of the side skirts (and yes i will be able to make more parts from the molds), make a few thin parts to wrok with, and then cut and extend them. THEN, make another set of molds from those and pull actual parts from the second set of molds. and then lengthening the hood. i (well he will be) will be cutting up a carbon fiber hood to do this work
but, for those that care, this is where i have been putting stuff now-a-days.
Re: Aarons RWD car 3-22 pix update: tube chassis work
Posted: Sun Mar 23, 2014 11:24 am
by the german
Thanks for the links, now I know where to look. Interested to watch this body work take shape. What is driving the change in length?
Re: Aarons RWD car 3-22 pix update: tube chassis work
Posted: Sun Mar 23, 2014 11:33 am
by speeding-g60
longer wheelbase is always better on a drag car. placement of the rear axle in relation to the body, we want to keep the rear looking "right" and opening the wheel well 3" each way puts the wheel further back on the quarter panel and might look odd. so we lose 2" of wheelbase there, going from 100" to 98" we want 102"+, so therefore we need to stretch the front end some.
Re: Aarons RWD car 3-22 pix update: tube chassis work
Posted: Sun Mar 23, 2014 2:15 pm
by the german
Makes sense!
Re: Aarons RWD car 3-22 pix update: tube chassis work
Posted: Sun Mar 23, 2014 3:02 pm
by DE80q
WOW, I missed a lot here. This is coming along nicely there Aaron. The Tube working going into this is amazeing. I thought it was pretty sweet helping my boss build his drag car, but that is just a rail, so yours would be much more interesting. Keep it up, I look forward to seeing this thing on the track.
Re: Aarons RWD car 3-22 pix update: tube chassis work
but here is updates. i was just gonna post on Sundays, but since i got a reply i will update now.
3-24:
I did some more tube work after my real j0b today; I stop by the shop each and every day I am able to, and do something. So today I made a few more tube notches and copes, getting the bulkhead stuff expanded for the extended wheelbase stuff. Not a lot of work done, but some is better than none. And yes, this is reclaiming the original hoop. He is worried about how it will look, and does not want it to look cobbled together no matter how structurally sound and effective it is. And the only way it would ever be seen is if I were upside down, which I do NOT want to be!
I really like being able to be involved hands-on in this build, it really is pretty cool. Two copes and a notch, coming up!
3-25:
So I go to the shop every day after work, that I am able to. Every hour I spend there coping tubes or laying out or whatever is ~40-45 minutes less of his time I have to pay for. I say only around 75% because obviously he is much faster than I am at building chassis, coping tubes, etc. He has much more experience than I do. BUT, every hour saved on his part ($75/hr I think) is savings on my part. I guesstimate to date I have saved over $2k on this work alone due to the work I have been doing. PLUS, I get to say I built it, or at least did a lot of work myself. And that speaks volumes for a guy like me.
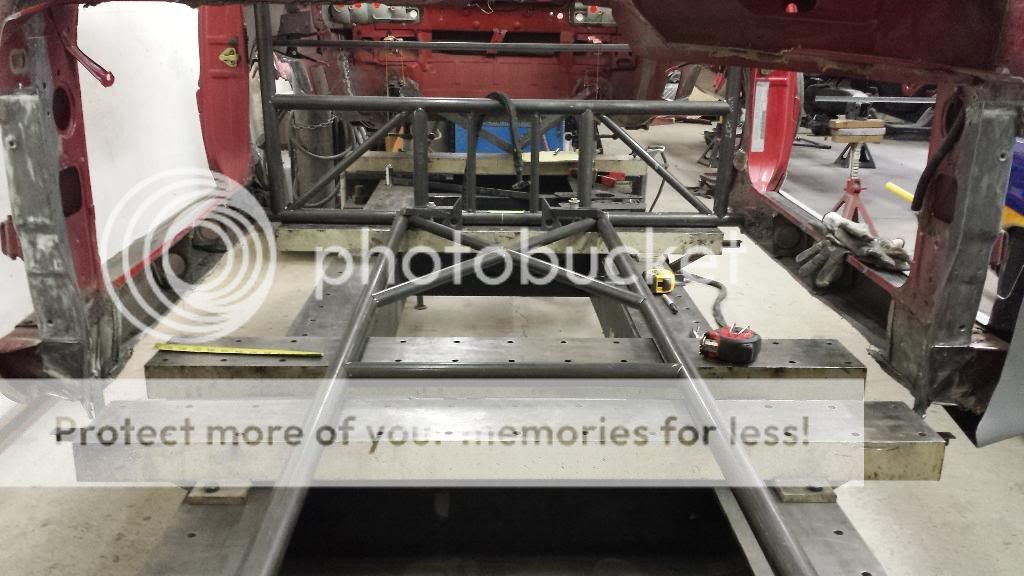
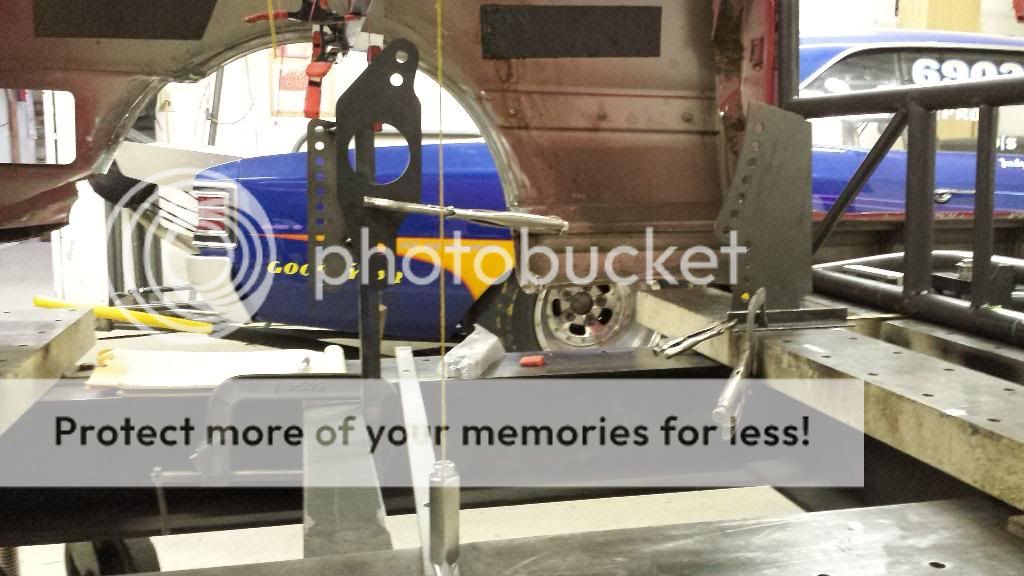
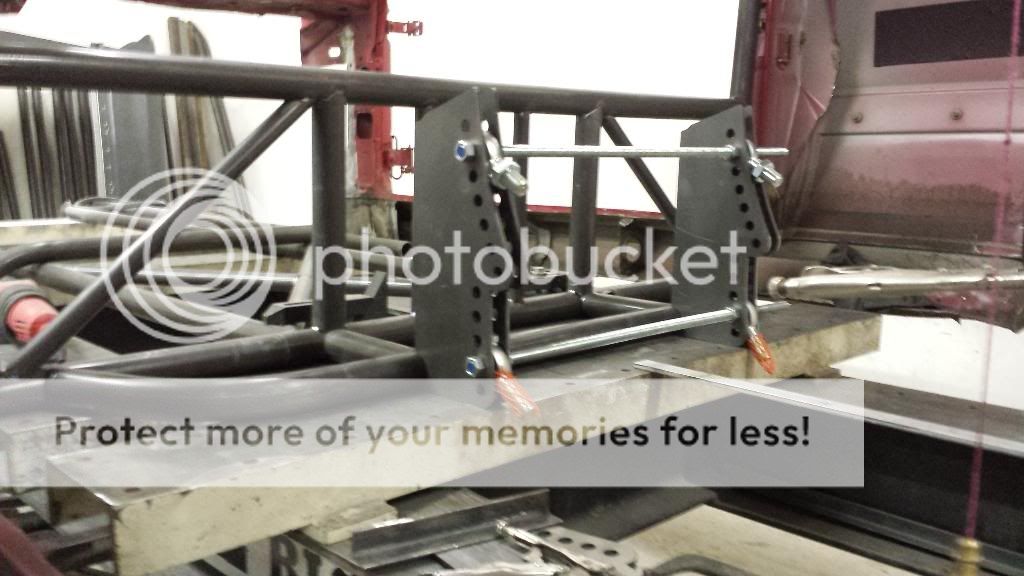
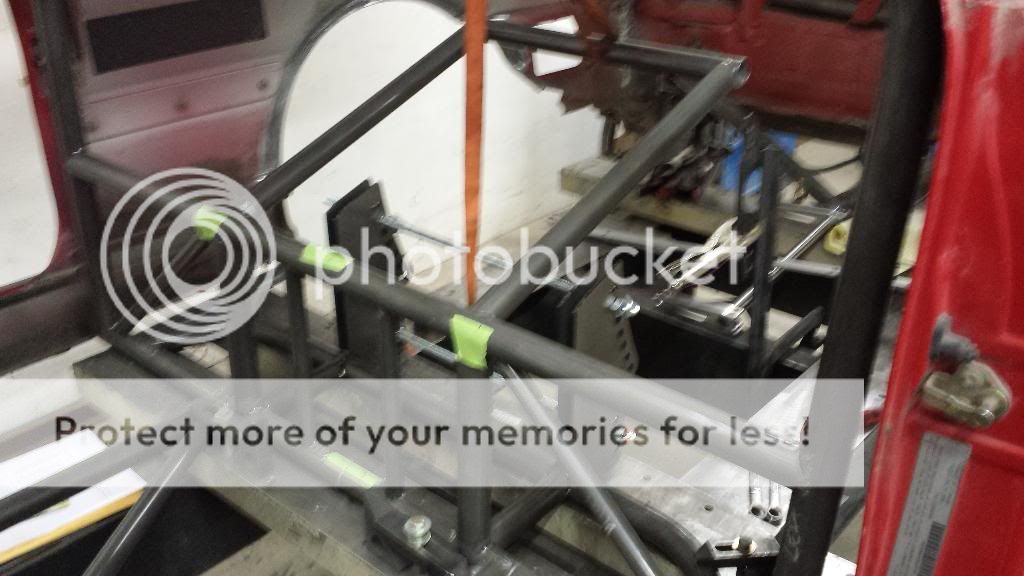
So today, for the couple ~3+ hours I was there, I worked on squaring up the tubing floor package behind the main bulkhead and setting up the front four link plates. I also built the first set of rear end locator farming parts. It is getting a lot of influence from Pro-Mod cars, this rear end chassis work. It will have an upper rear halo, and a mid set, and lower set. It will also have two sets of bars for the tunnel. It is actually pretty complicated, as we see when things progress.
Tomorrows plan is to make the rear framerail final upper piece, mount the rear body to it, and the parachute tabs, etc. Man, I really dig all of this fabrication work. I personally feel that I am getting the hang of coping tubes and notching and stuff; I had to field-fit the notches for this piece I made today after we established an angle and elevation for it.
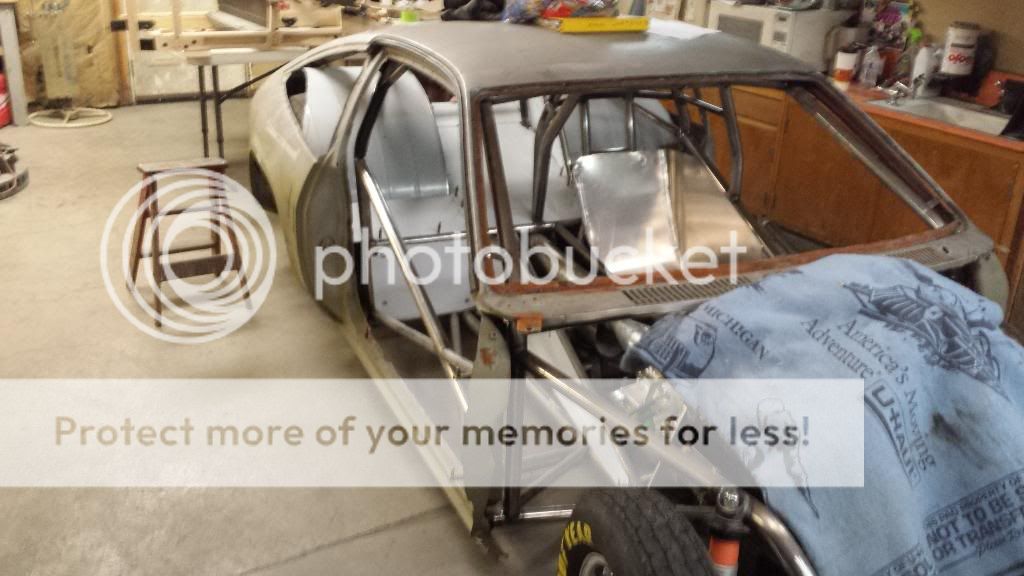
so that last horizontal crossmember. that is the inside edge of the wheel tubs when they are completed. yeah they are gonna be that big. basically from the cage hoop back is going to be all sheetmetal work. sorta like this. mine is basically being patterned after the Monza..... with changes due to body structure, etc.
Re: Aarons RWD car 3-22 pix update: tube chassis work
Posted: Wed Mar 26, 2014 12:58 am
by PRY4SNO
Jesus Aaron, let me send you some TIG gloves FFS... lol. Didn't know you were that hard up for coin
Progress looks awesome, bring on the updates. Love seeing what goes into making a legit drag car.
Re: Aarons RWD car 3-22 pix update: tube chassis work
Posted: Wed Mar 26, 2014 6:24 am
by DE80q
PRY4SNO wrote:Jesus Aaron, let me send you some TIG gloves FFS... lol.
My hands were hurting just looking at the bare skin getting fried by the Tig. BTDT, wont ever do it again.
Any yes, pregress is great! I am really looking forward to seeing this all setup and sitting on all 4
Re: Aarons RWD car 3-22 pix update: tube chassis work
Posted: Wed Mar 26, 2014 7:32 am
by speeding-g60
that is him, not me. i dont TIG weld very well at all.