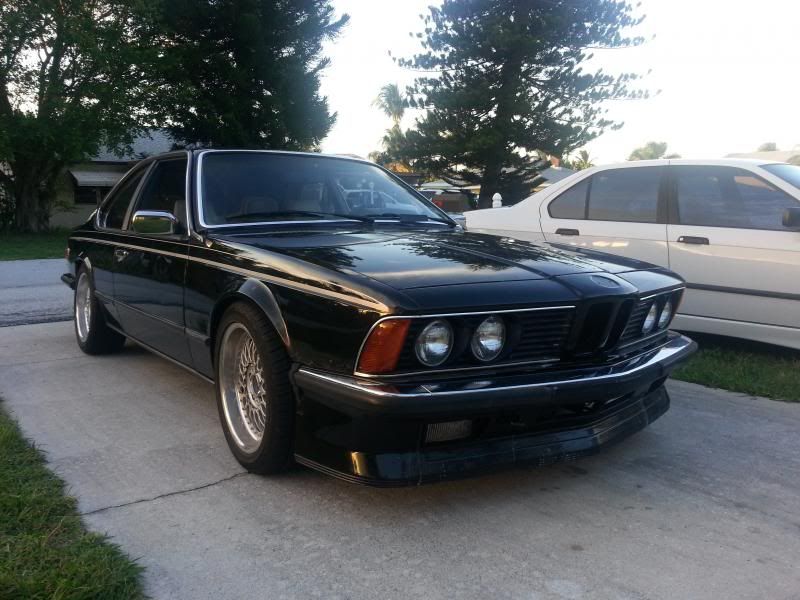
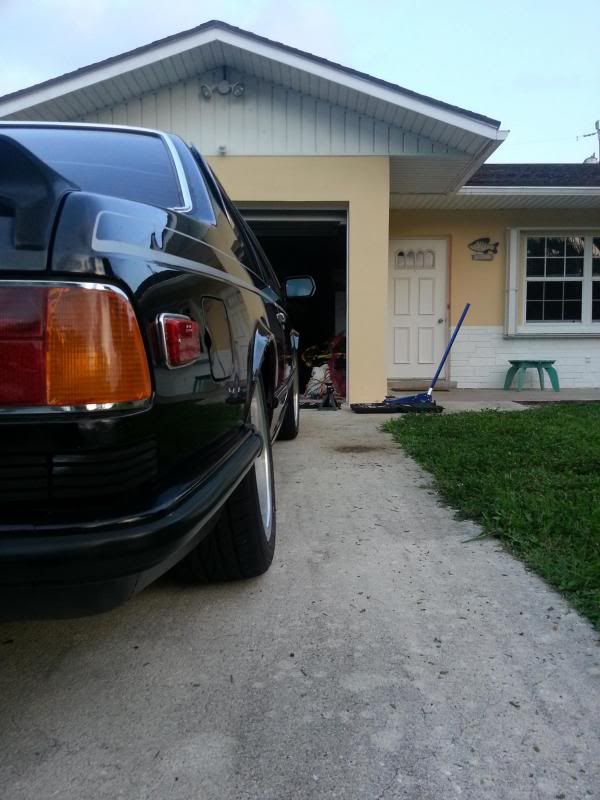
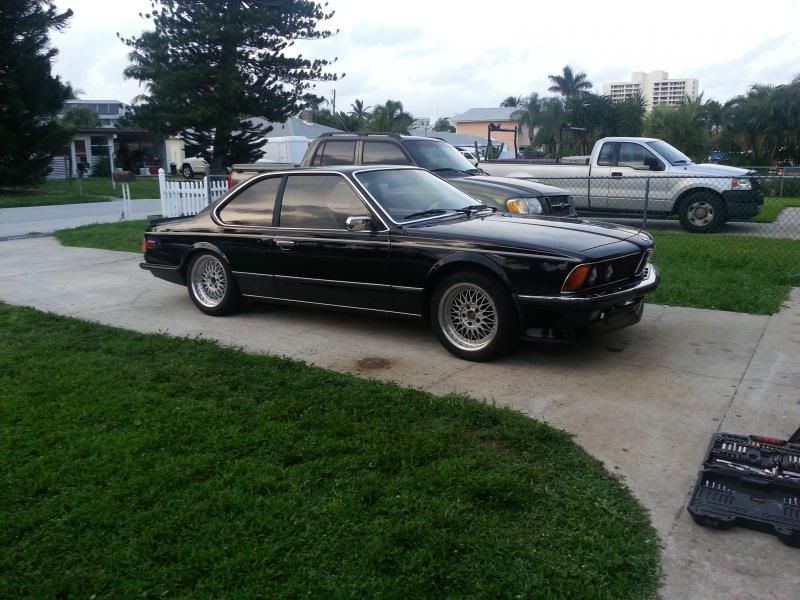
Hmm, do you mean pictures of the car lowered or pictures of the process of modifying the struts and such? I posted pics of the latter in the T44 coilover thread, but I'll post them again here. Still haven't gotten pics of the car as it sits now because I ran out of light last night and I worked for ~13 hours today :( ... so no light again!
I did drive it to work today though and it is a major improvement. I have to say it does feel a bit underdamped though. I forgot to adjust the Konis after installing, so they are probably on full soft. The car sort of comes close to cornering flatly now, so that is like a revelation for it! Of course the biggest benefit was getting rid of the seized strut. Boy was that annoying. It would slam every time I'd hit the slightest bump. We are talking paint on the road bumps. It was bad!
I'm slightly frustrated though because I still have a vibration in the front end. I thought the control arms would solve that, but at least now I can rule them out. Time to start looking into the wheels, tires (tires are brand new though), brake disks (also relatively new), and tie rods. I'm not sure what else I can replace beyond that. The only other things would be the steering box and steering arm system thingy. I'm going to try a different set of wheels/tires before anything because that is FO FREE!
OK here is a quick DIY on the actual strut housing modification. These pictures are from the work I did on my 635csi, but the concept is identical (except you can also cut off and rotate the steering arms on the T44/URS like Ed D. has done on his car).
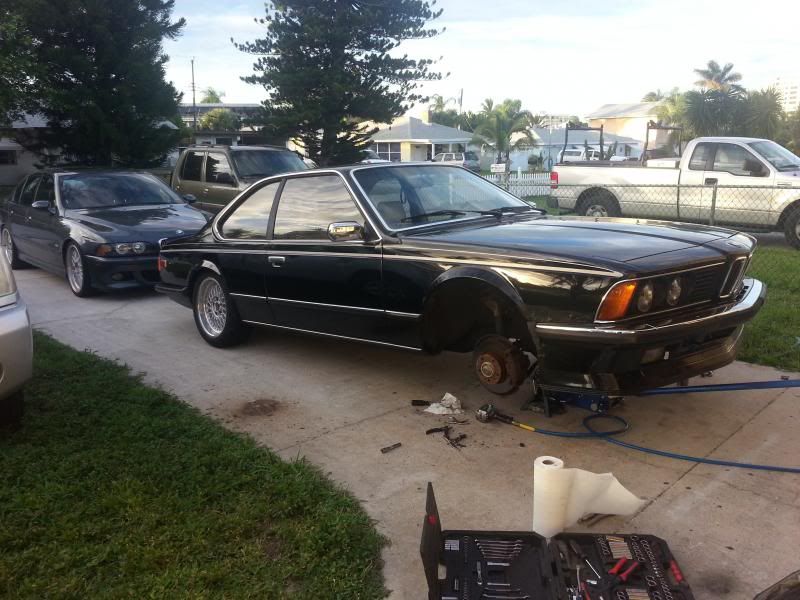
First, remove the struts from your fine automobile. If you don't have the ability to do this without a DIY, then you probably shouldn't attempt the rest of this! I'm I/we could help someone with that on an individual basis if it comes to it.
Observe your soon-to-be awesome strut housing:

Start hacking away at the old spring perch with a grinder or cut-off wheel. Just be careful not to cut into the strut housing itself unless you intend to cut that section out.
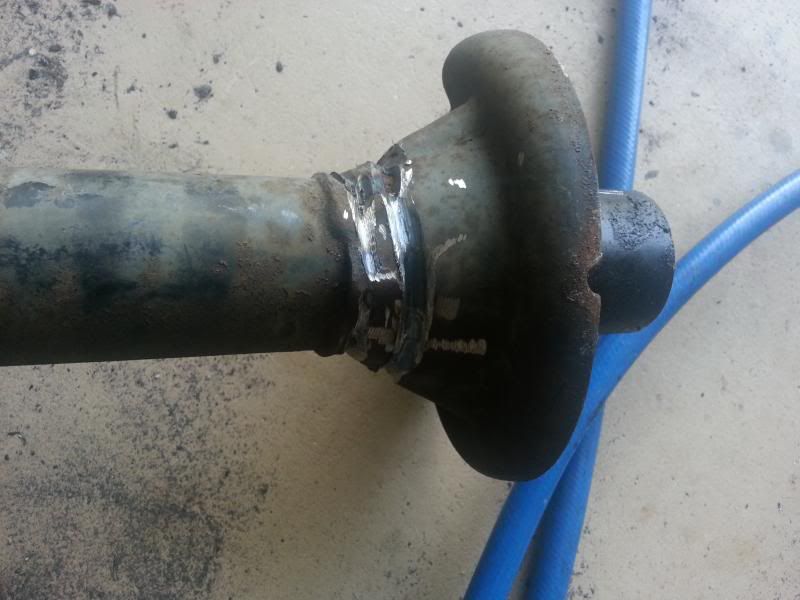
You should end up with something like this when you're finished. Mine is pretty hacked up, but I didn't care because I cut that section out later. It turns out that I really should have cleaned that part up and cut down lower, but hindsight is always 20:20 isn't it?
At this point, you might think you could just put the threaded sleeve on the area where the spring perch once sat. Not so. An uneven surface could lead to stress concentrations which can split or crack the aluminum sleeve leading to failure down the road. You need to make (or buy) a ring of some sort for the sleeve to sit on. See the ones I made in the post above and the ones Ireland Engineering (below) included for me when I bought some of these parts from them.
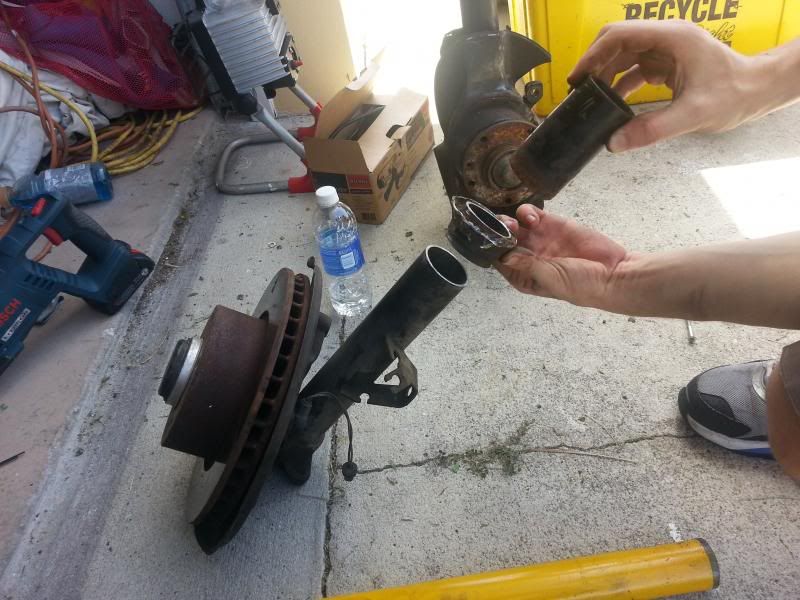
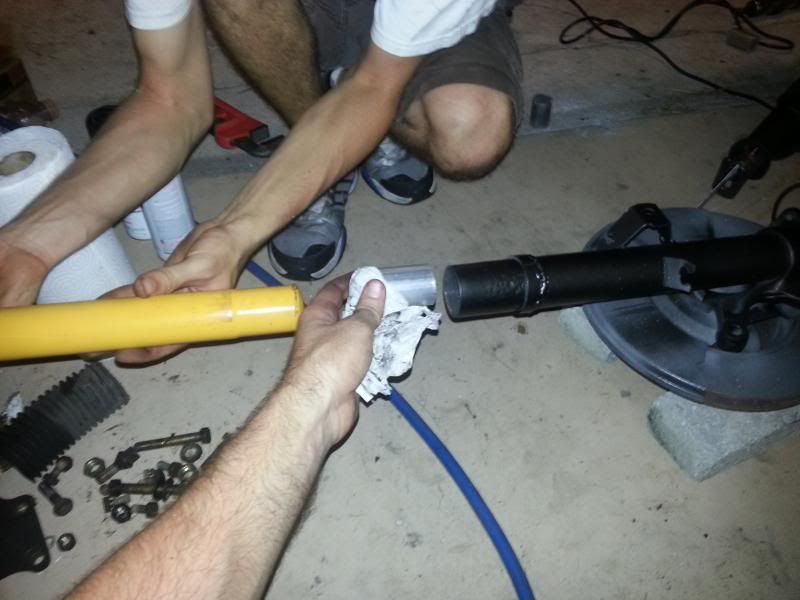
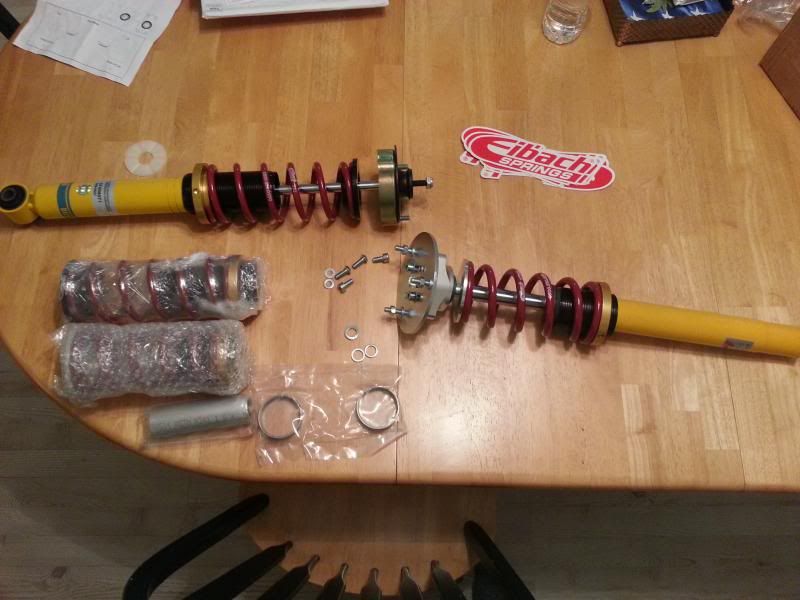
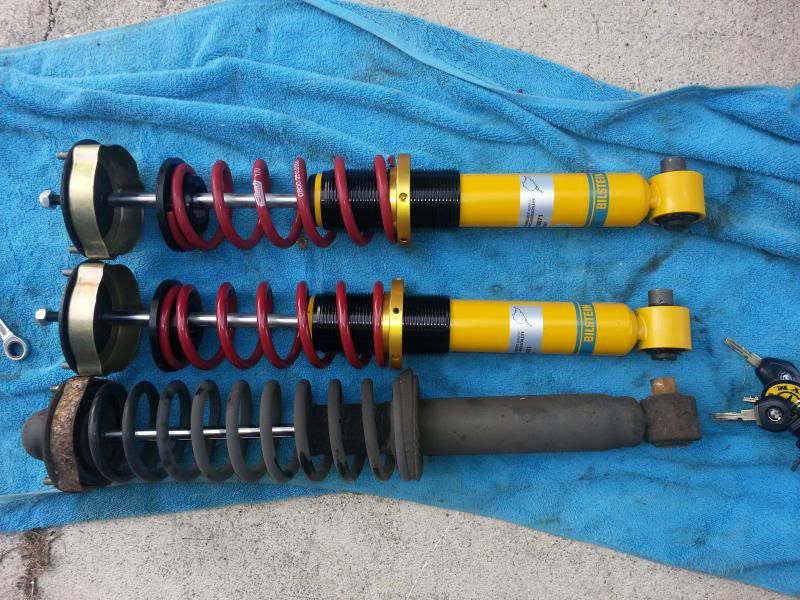
Next, observe how much shorter and awesome your new shorter struts are. Also notice how nasty the one you are replacing looks.
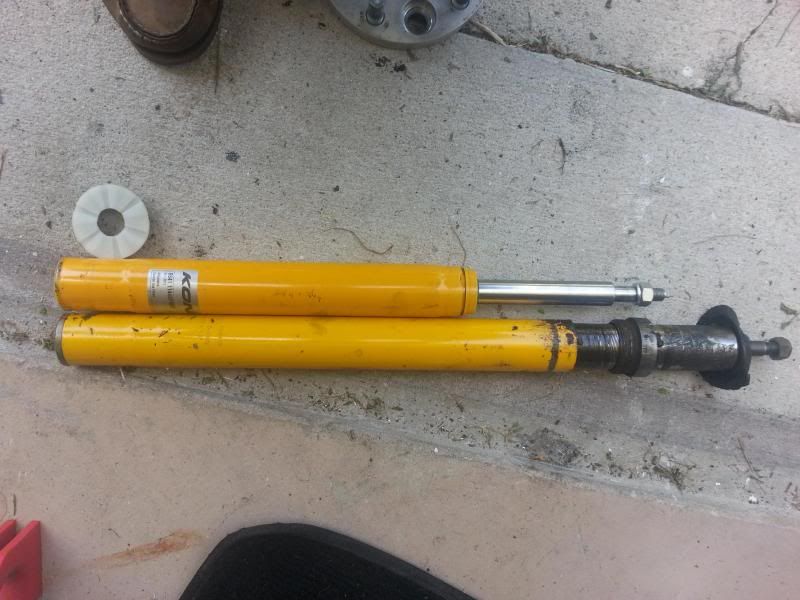
(This is just for the BMW guys)... Look how much shorter these are!
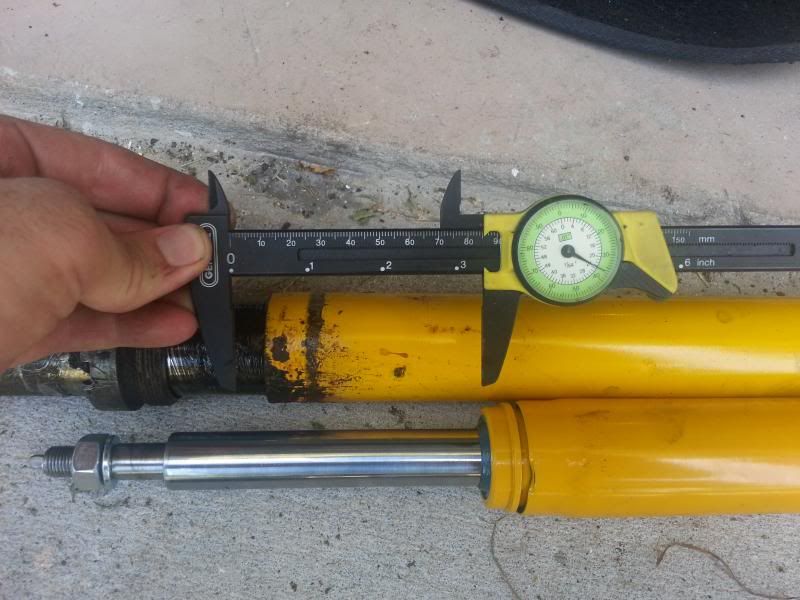
Now if you're going to shorten the housings for use with shorter struts, you need to get on to deciding where you're going to make your cuts. This is a pretty critical decision and depends on your spring length shock length combination (and how much threaded sleeve you have to work with). Like I said earlier, I made mine a bit too high, but I really wanted to get a specific part of the strut cut out to avoid excess grinding and some rust issues.
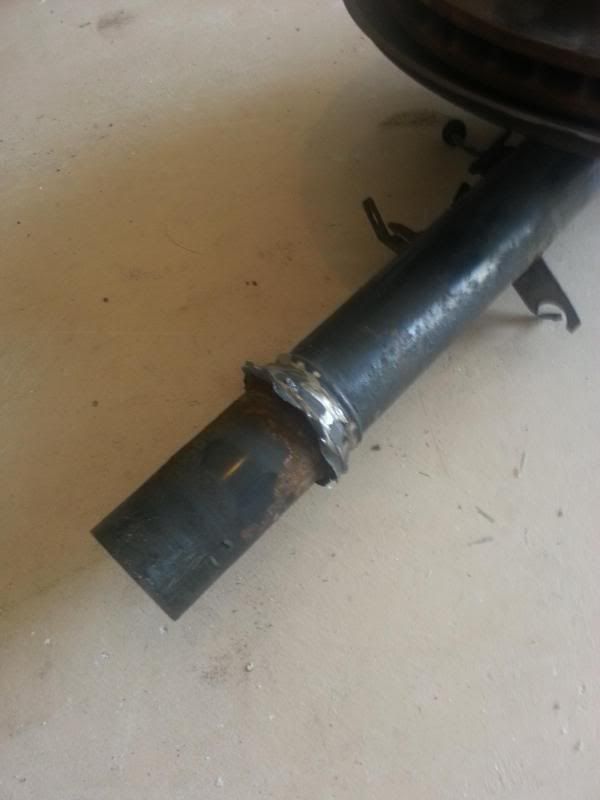
When you are all happy with your calculations and have made your cuts, get to welding!
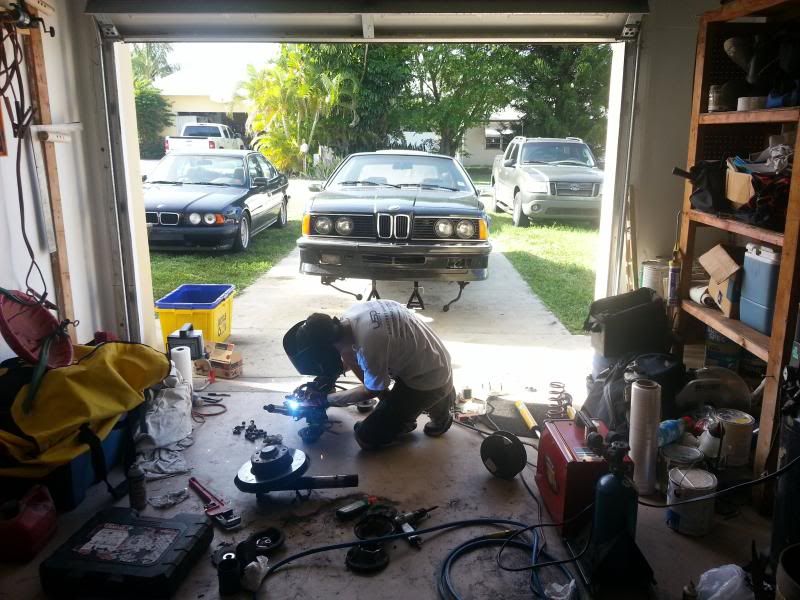
One thing to note about the welding process... You really want to get the two tube sections as close to concentric as possible. The easiest way to do this is to put a strut in the housing while you are welding. The problem with this technique is that the struts are filled with 1000s of pounds per square inch of pressure, and overheating one could cause it to fail and explode, potentially maiming or killing you and anyone around you. As a result, you must only weld small sections at a time and allow the strut to cool off after a few small passes. That's why the welds look so inconsistent in the pictures.
We would weld about two or three half-inch sections and then spray the strut off with some water. Even then, it was getting hot enough to scorch the paint on the strut body. Whatever you do, just be careful, and also be mindful to weld in such a way that the strut housing doesn't warp. Do welds 180 or 60 degrees apart from one-another to keep the warpage in check. Check that the strut can slide in and out of the housing easily after each session. Don't weld the strut housing to the strut! LOL
Just take your time and you will be A-OK.
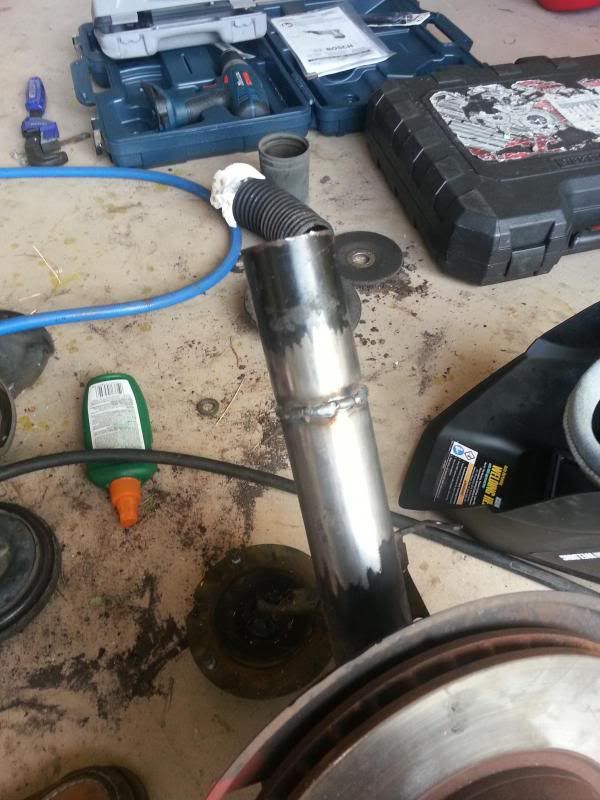
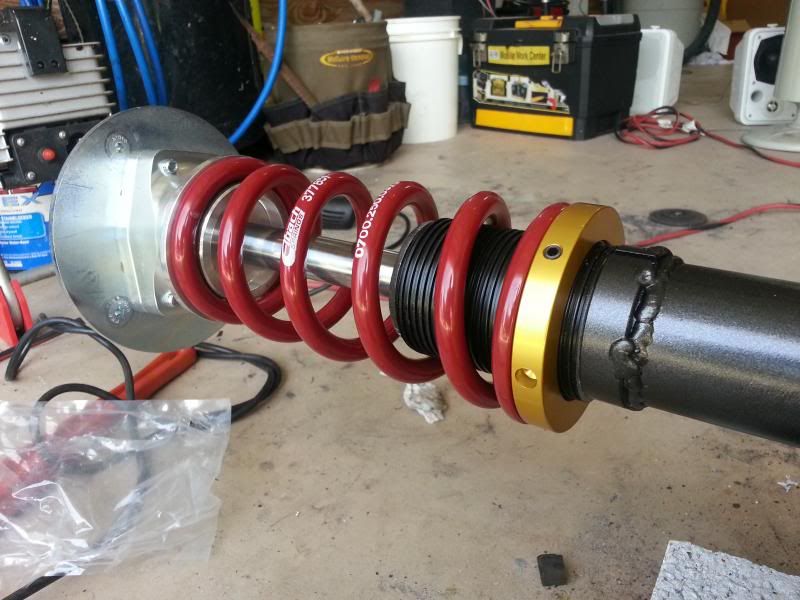
After the sections are welded together, weld your sleeve perch on.
Now you can test fit the strut and measure how much spacer you need to make for it (if it is shorter than the housing you have). A piece of aluminum tubing or even a stack of washers will do the job just fine. You want to space the strut out such that when you fully tighten down the gland nut, it doesn't bottom out on the strut housing, but it has plenty of thread engagement (a few threads sticking out above the top of the housing is OK in my opinion.
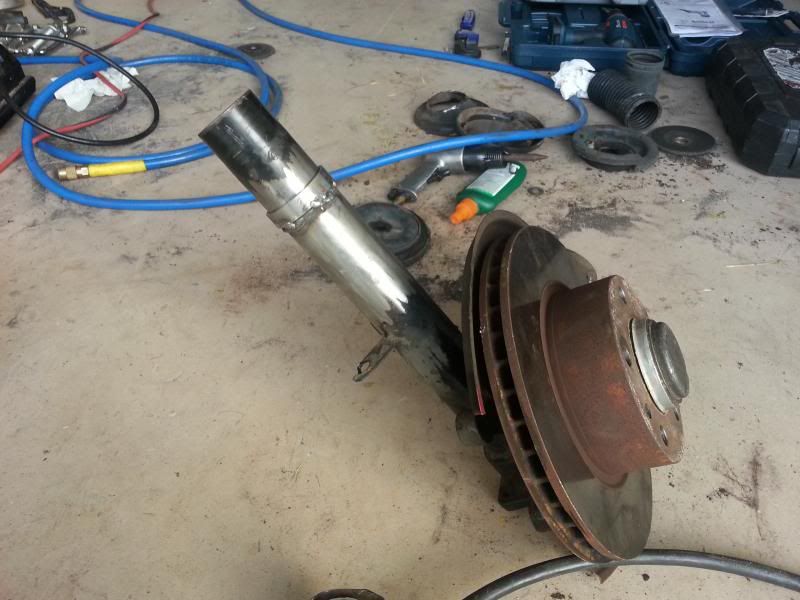
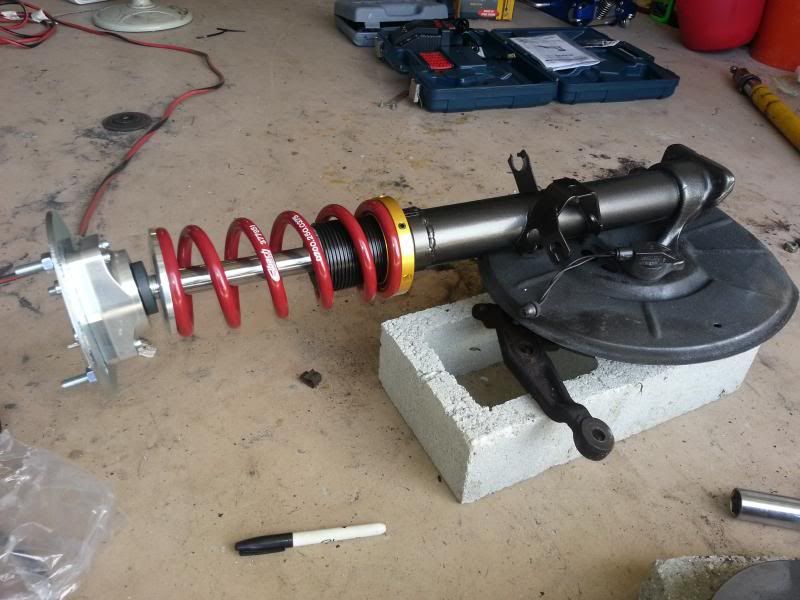
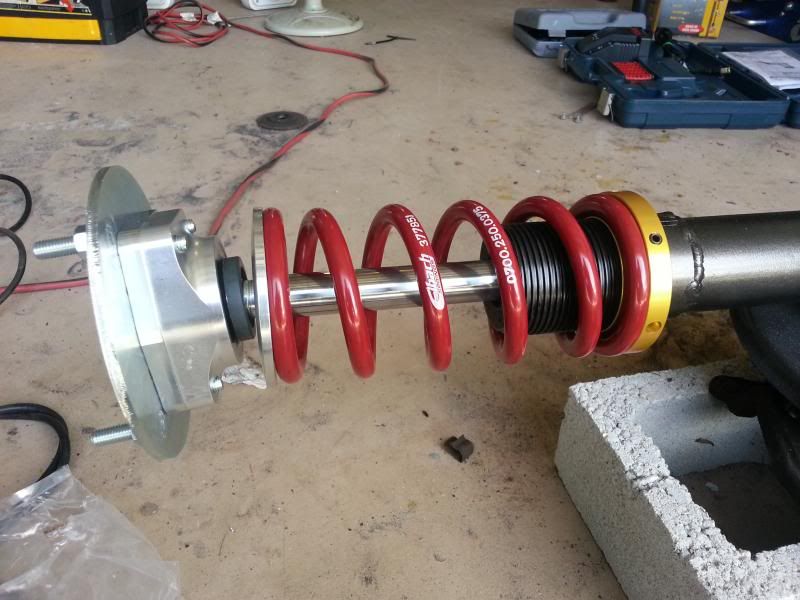
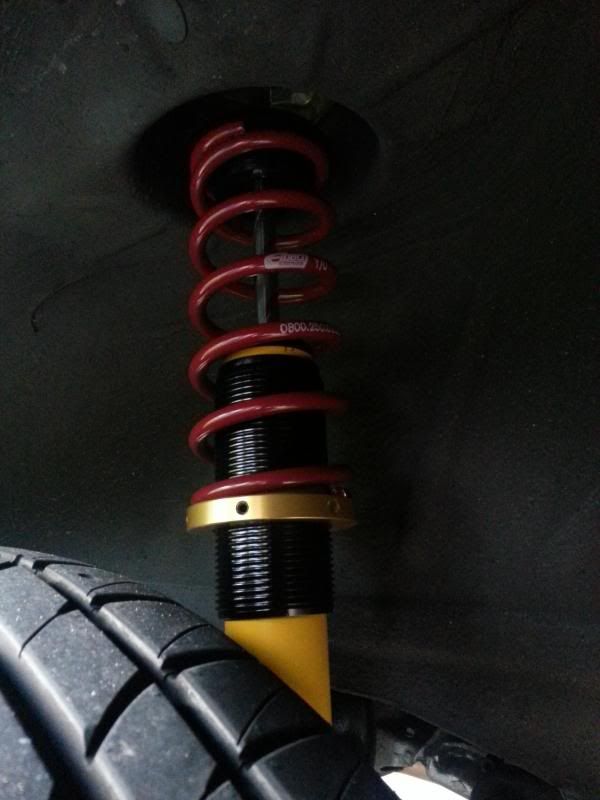
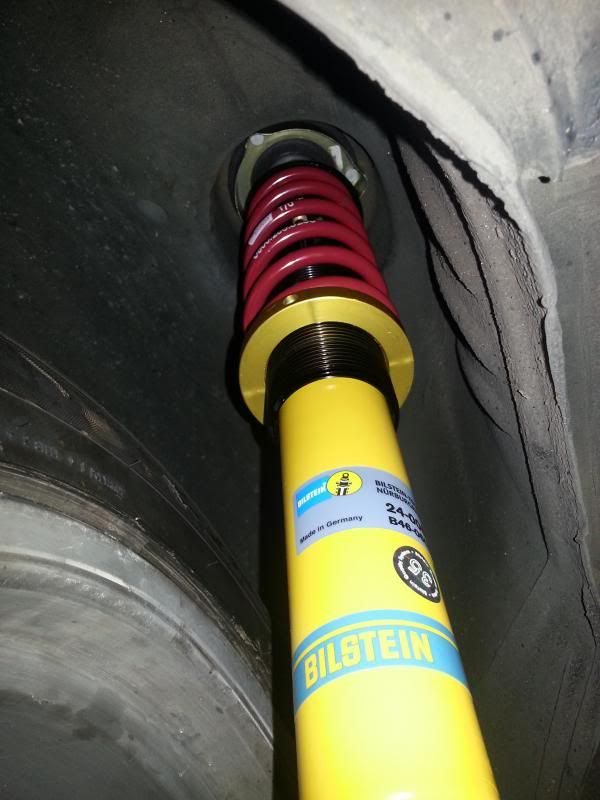
Next, get some paint on them bad boys and assemble them! It should definitely be time for a good drink by this point.

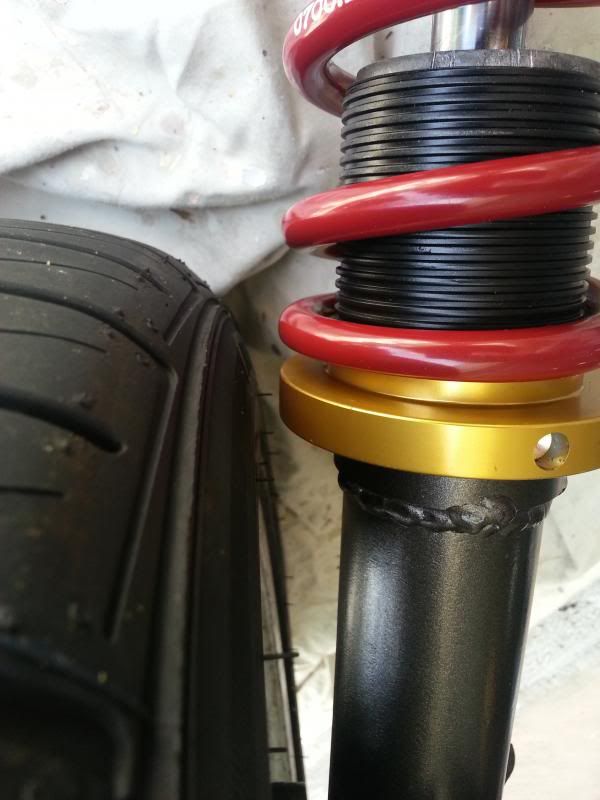
Finally, you may have to space the wheel out from the strut in order for the tire to clear the spring and spring perch depending on what wheel/tire setup you are running. On this 635csi, a fairly standard 17x8 et20 wheel and 235 tire doesn't even come close to fitting. An 8mm spacer (minimum) is required for clearance. That's OK though, as these cars have no problem swallowing up wider wheels. I'm putting some 15mm spacers up front. 20's or more could easily be fit with some negative camber, but I wanted to keep camber as close to neutral as possible for street use.
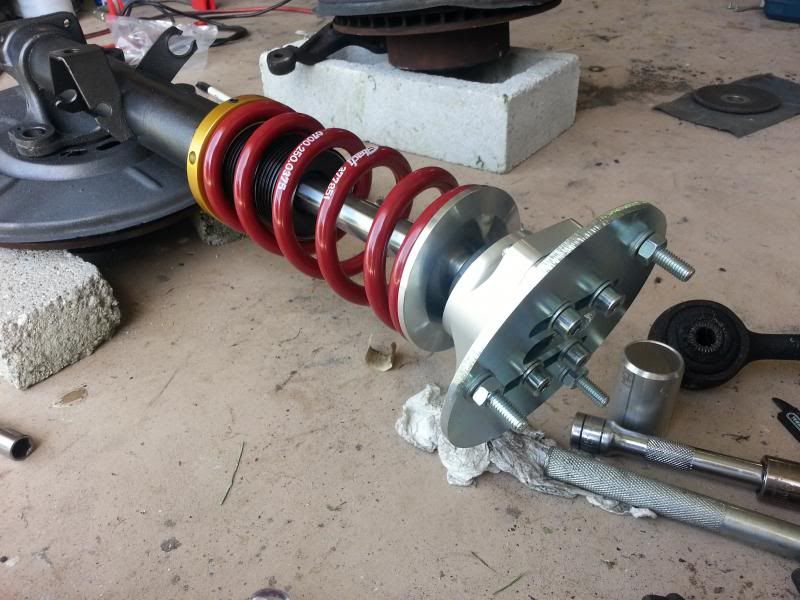
This picture was taken with about 12mm of spacer:
Quick pro hint: You can estimate the spacer you need by putting washers between the wheel and brake hat/hub and assembling.
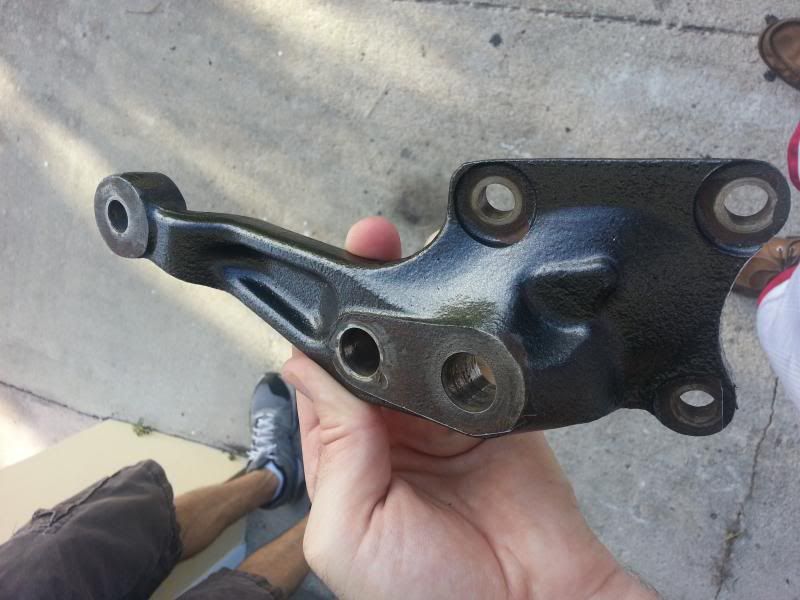
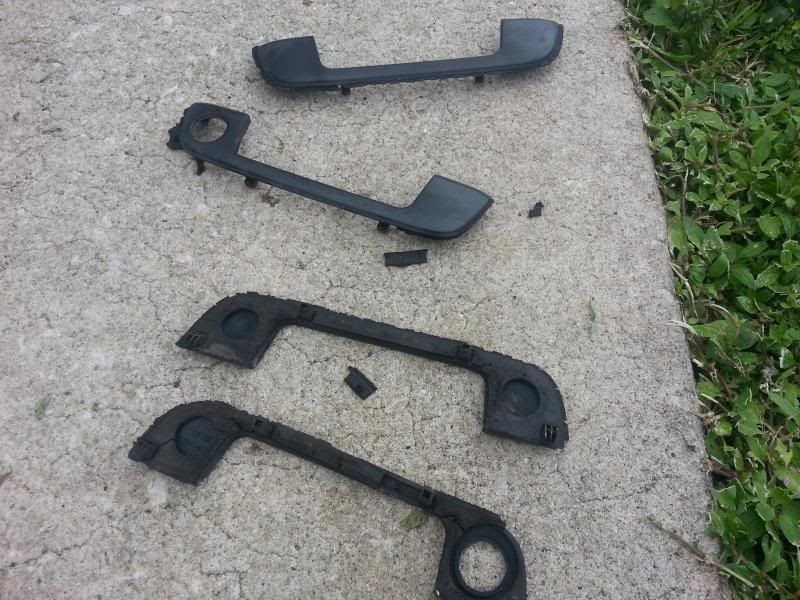
I also cleaned up and painted the piece that connects the strut housings to the control arms and tie rods:
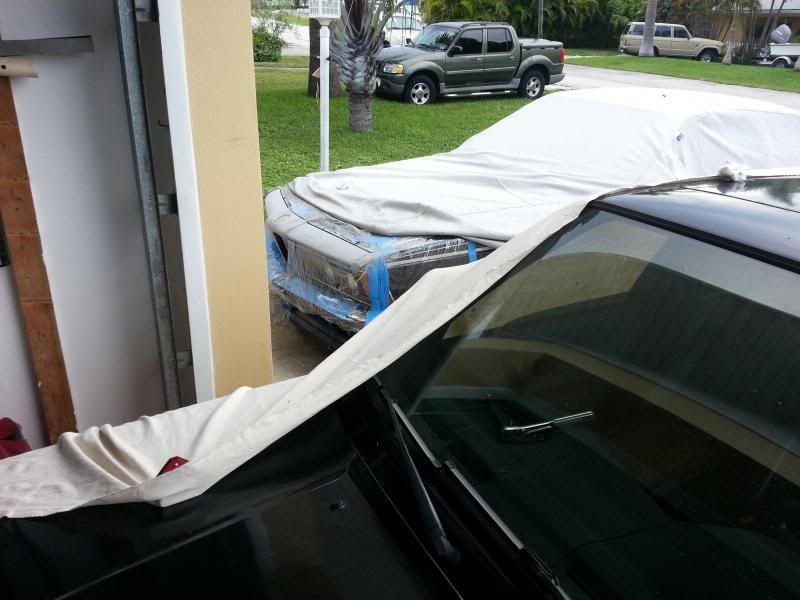
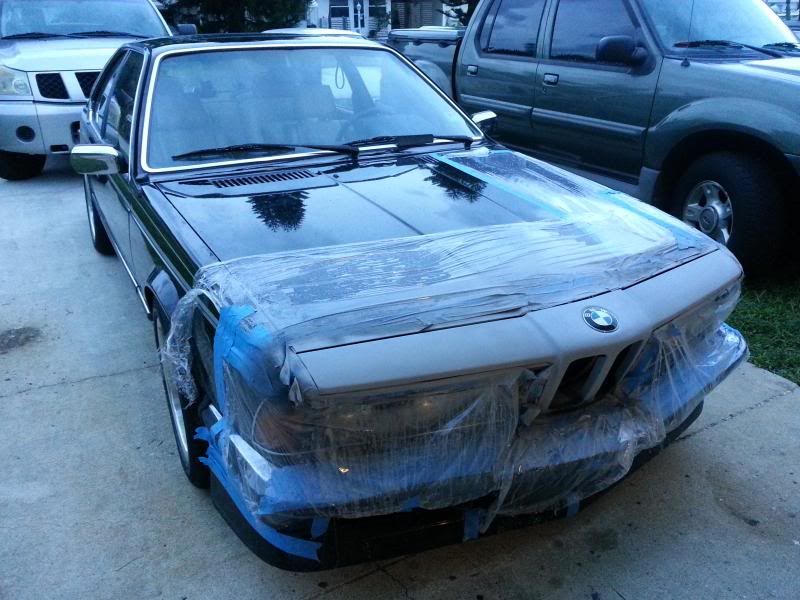
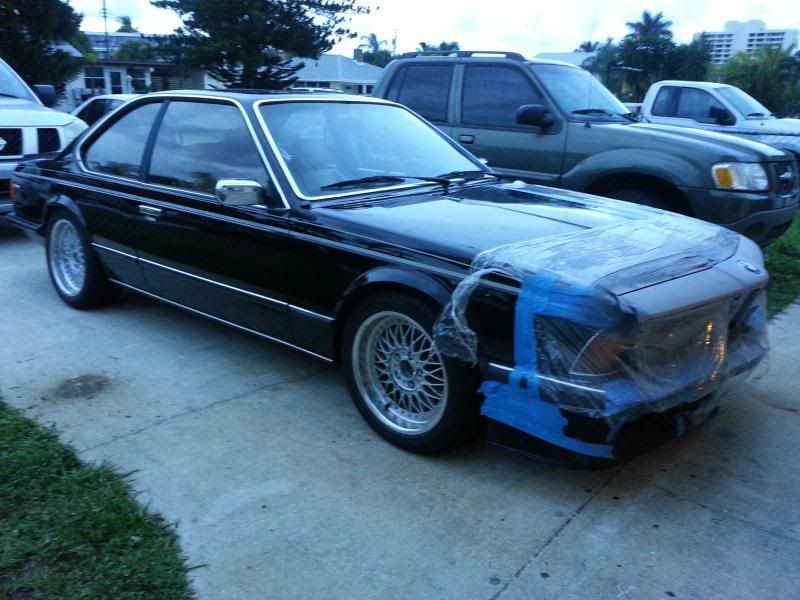
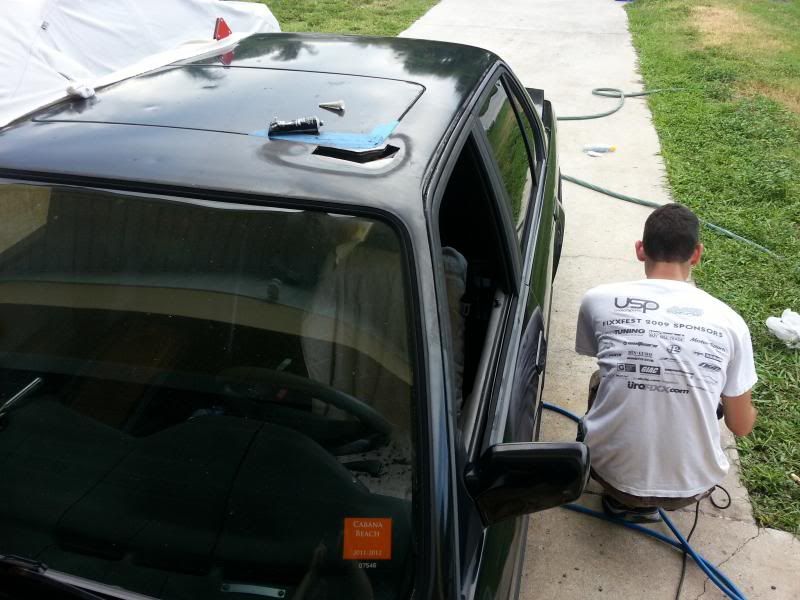
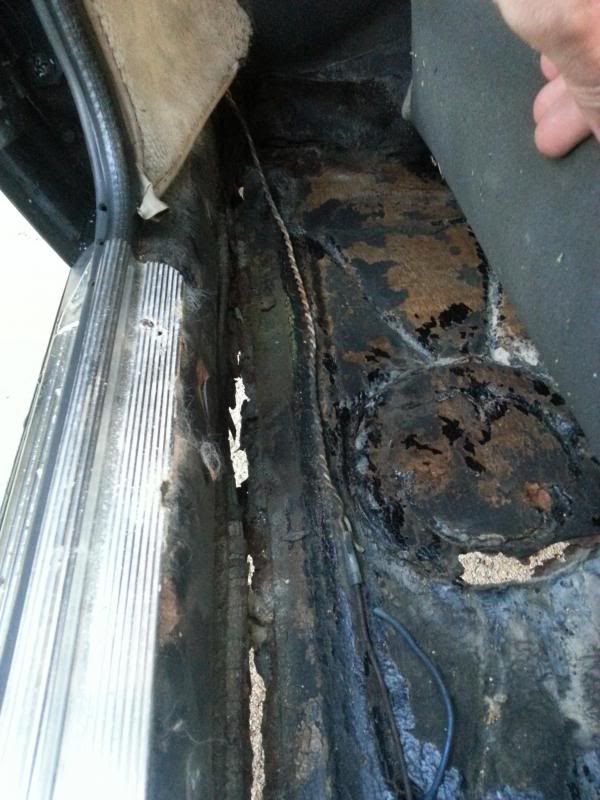
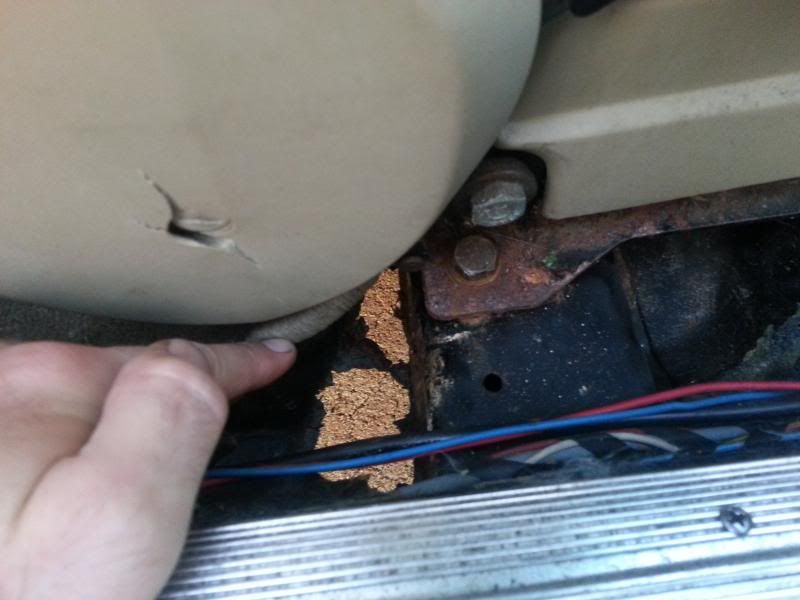
I'll be finishing up some body work on the front of the car tomorrow, then the next items on the list are an electrical gremlin or two and the power steering/hydro system. Needs new hoses, maybe rebuild the pump, etc.


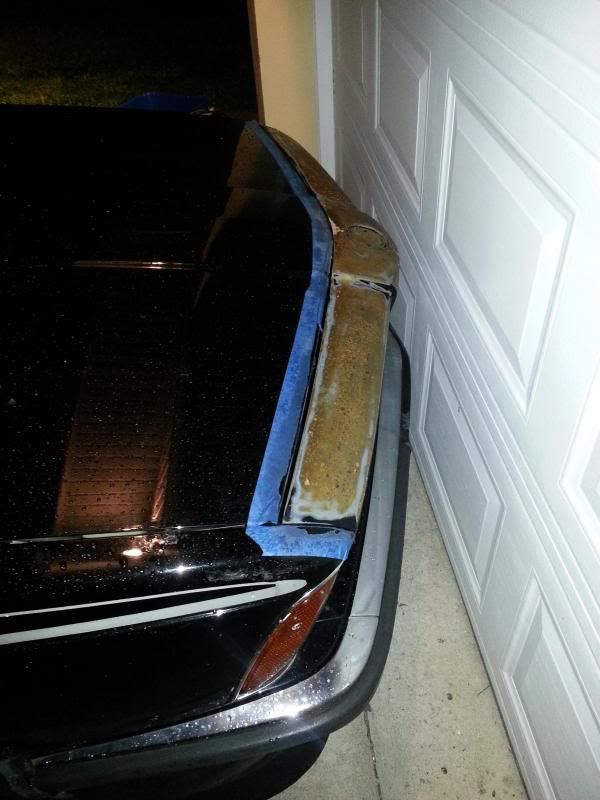
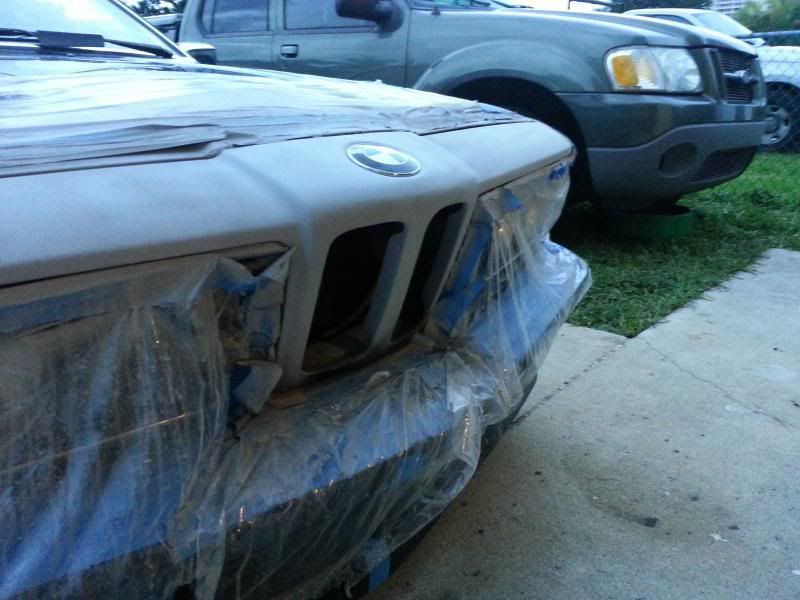
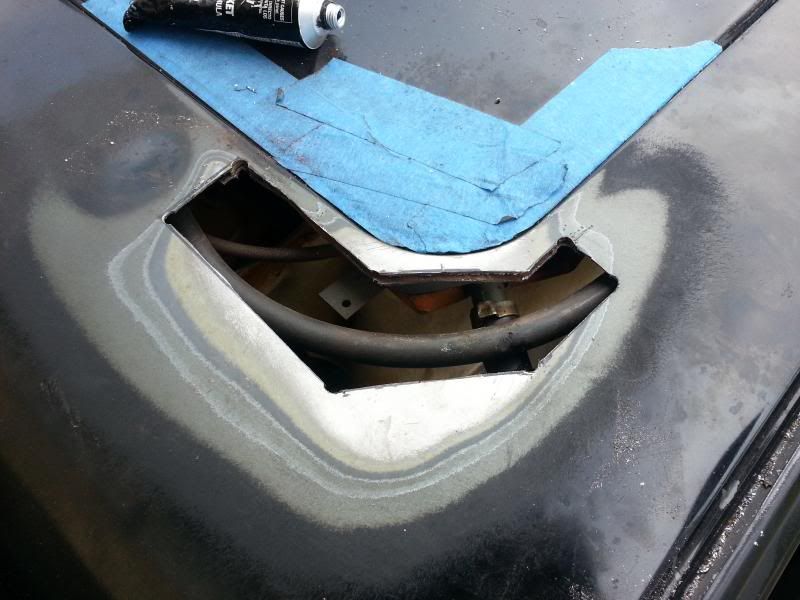
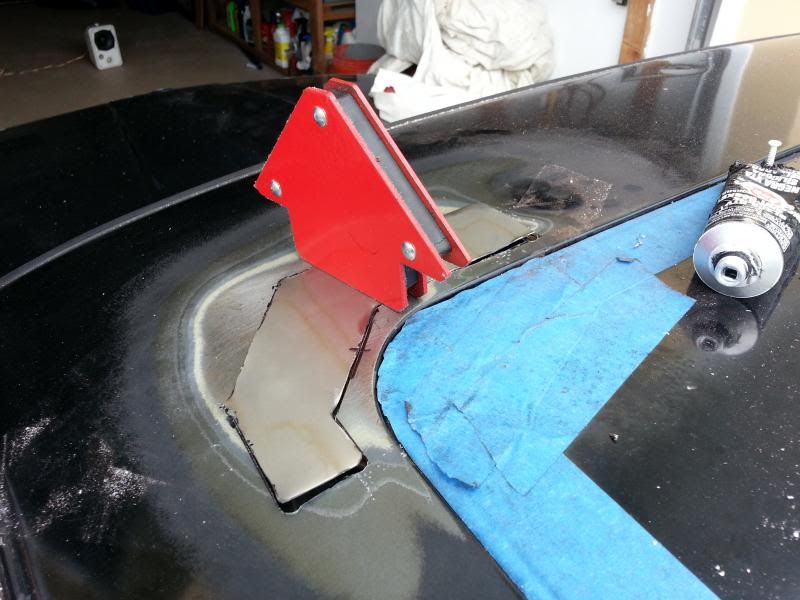
 The truth is that JB Weld bonds exceptionally to metals and is much tougher and more flexible (will flex with the panel) than conventional fillers like Bondo. The problem is that it is much harder to sand and fare with, it takes a lot more time to cure, and it is relatively expensive by volume. I don't mind any of the above though.